[en] [fr] [ru] [zh]
BHL5-24 成都 "Chengdu"
BARRETINA HYPER LITE 5
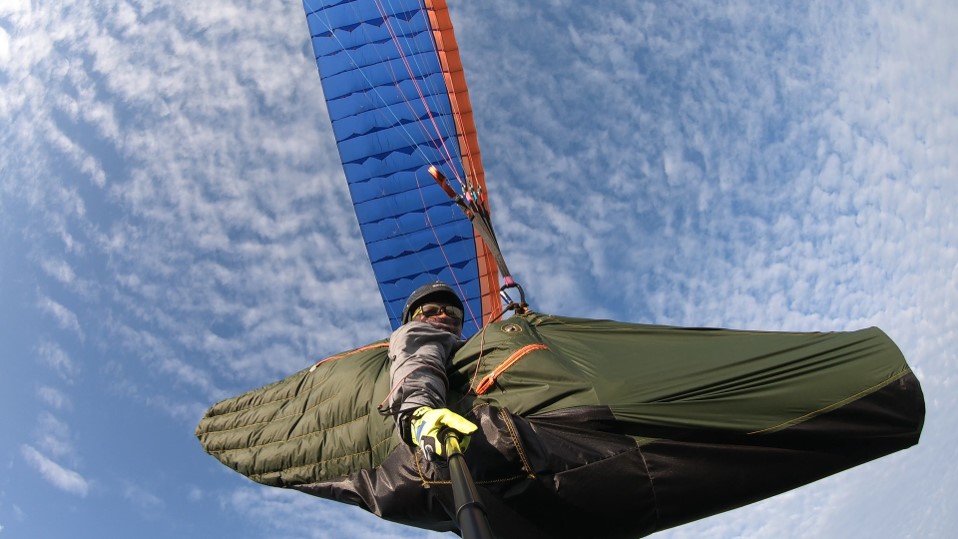
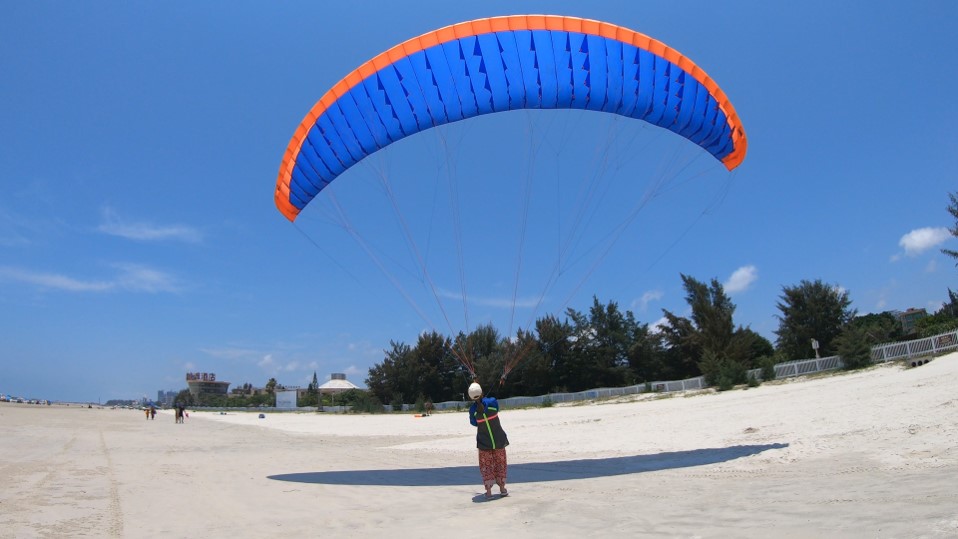
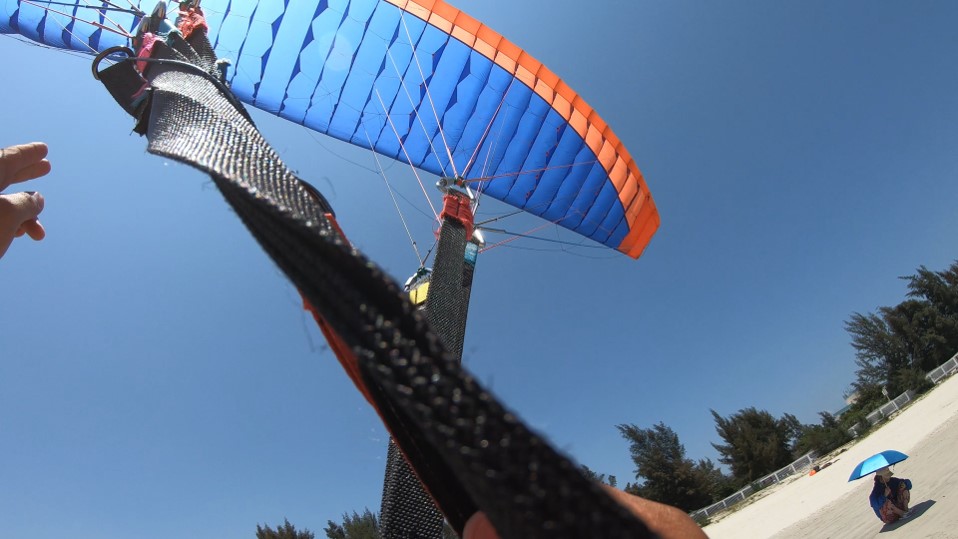
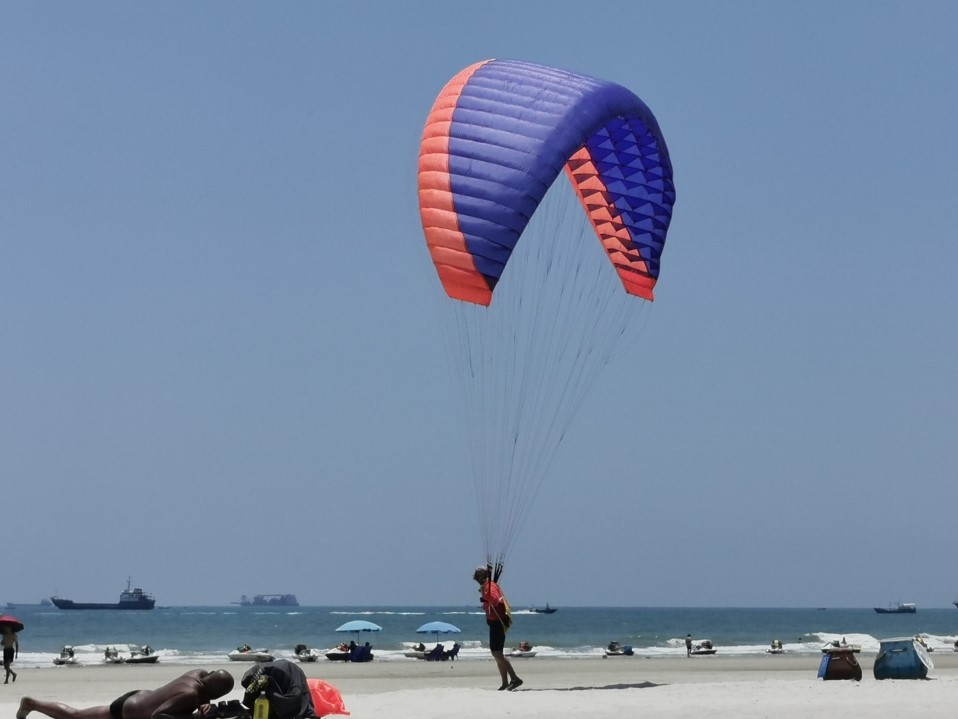
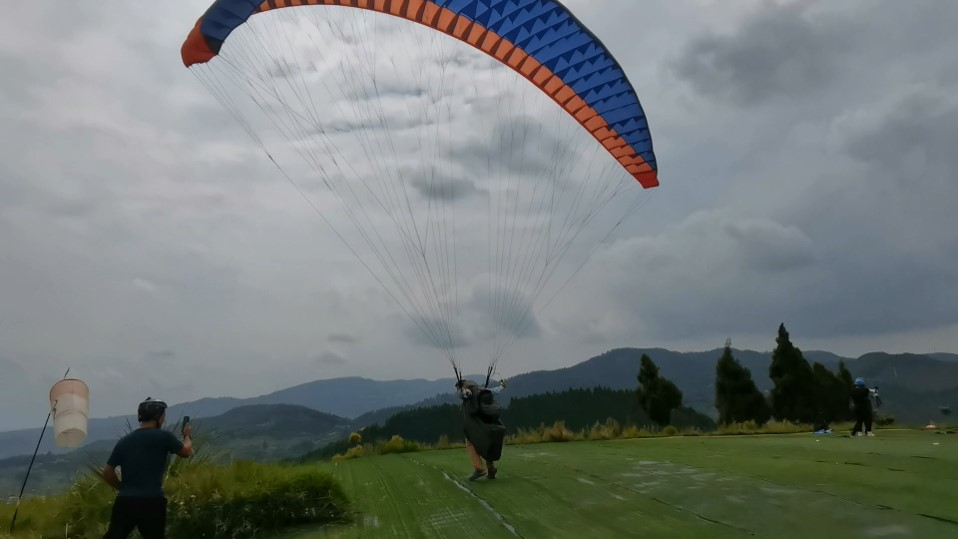
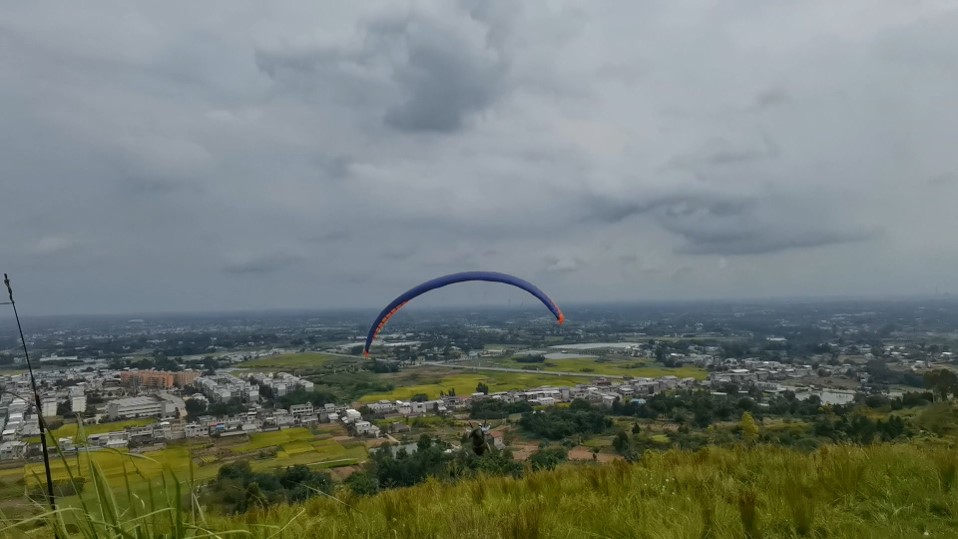
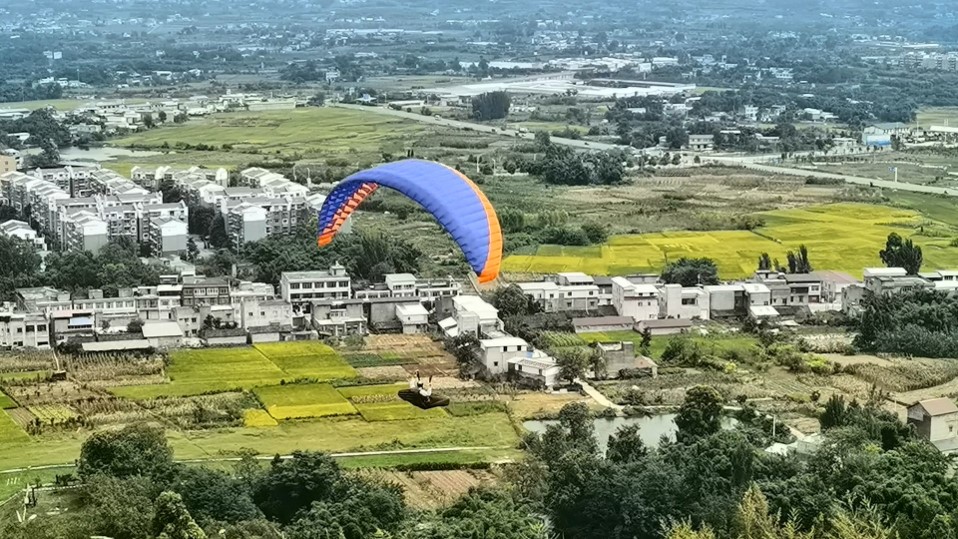
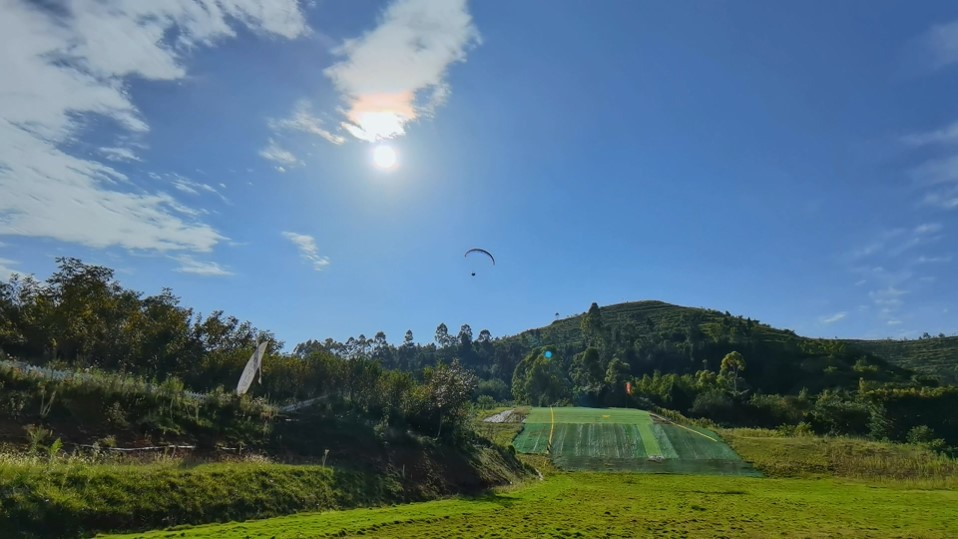
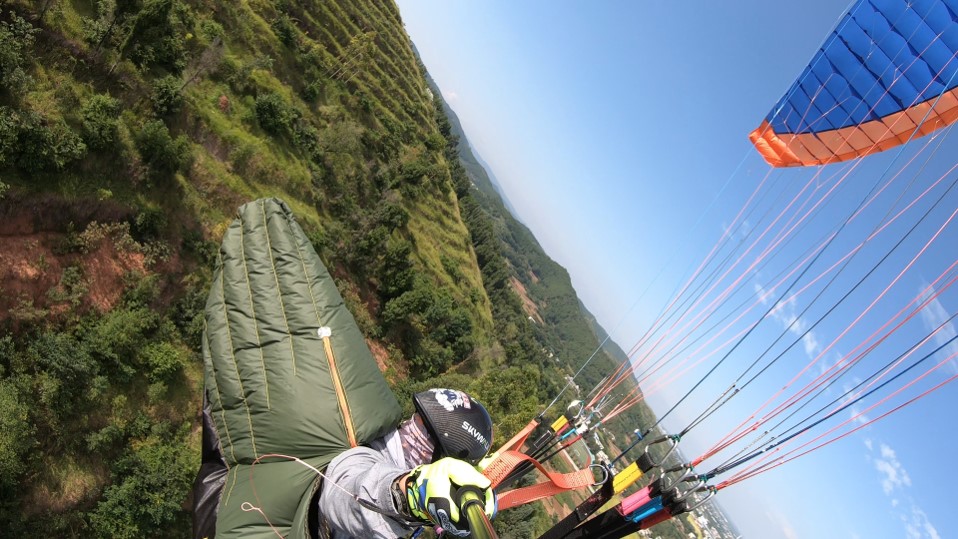
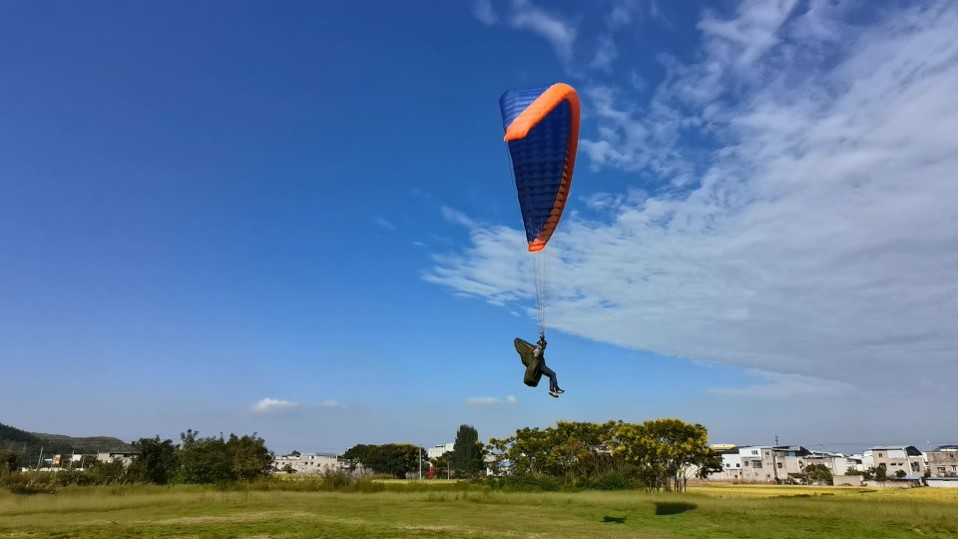
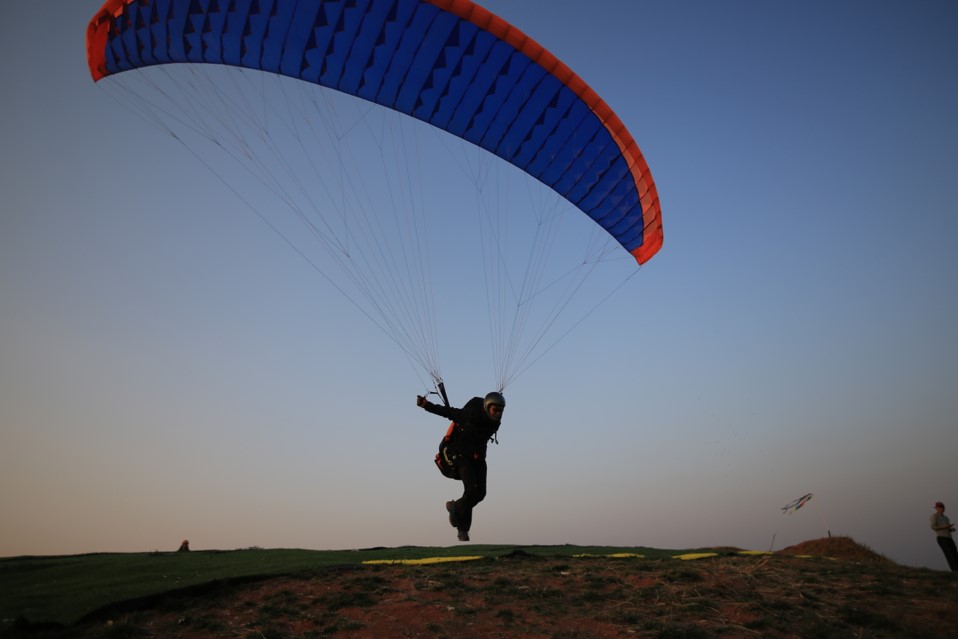
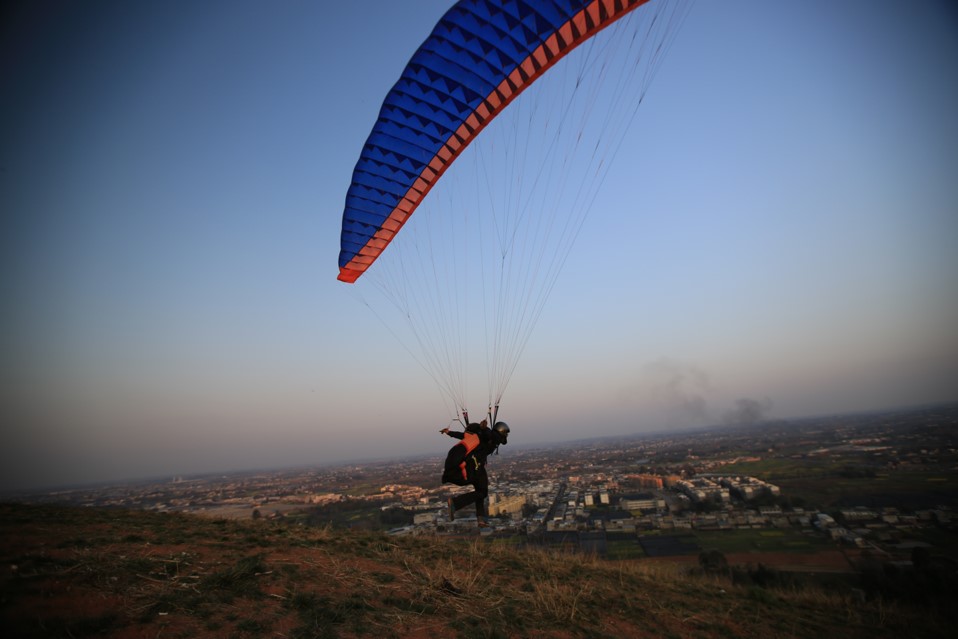
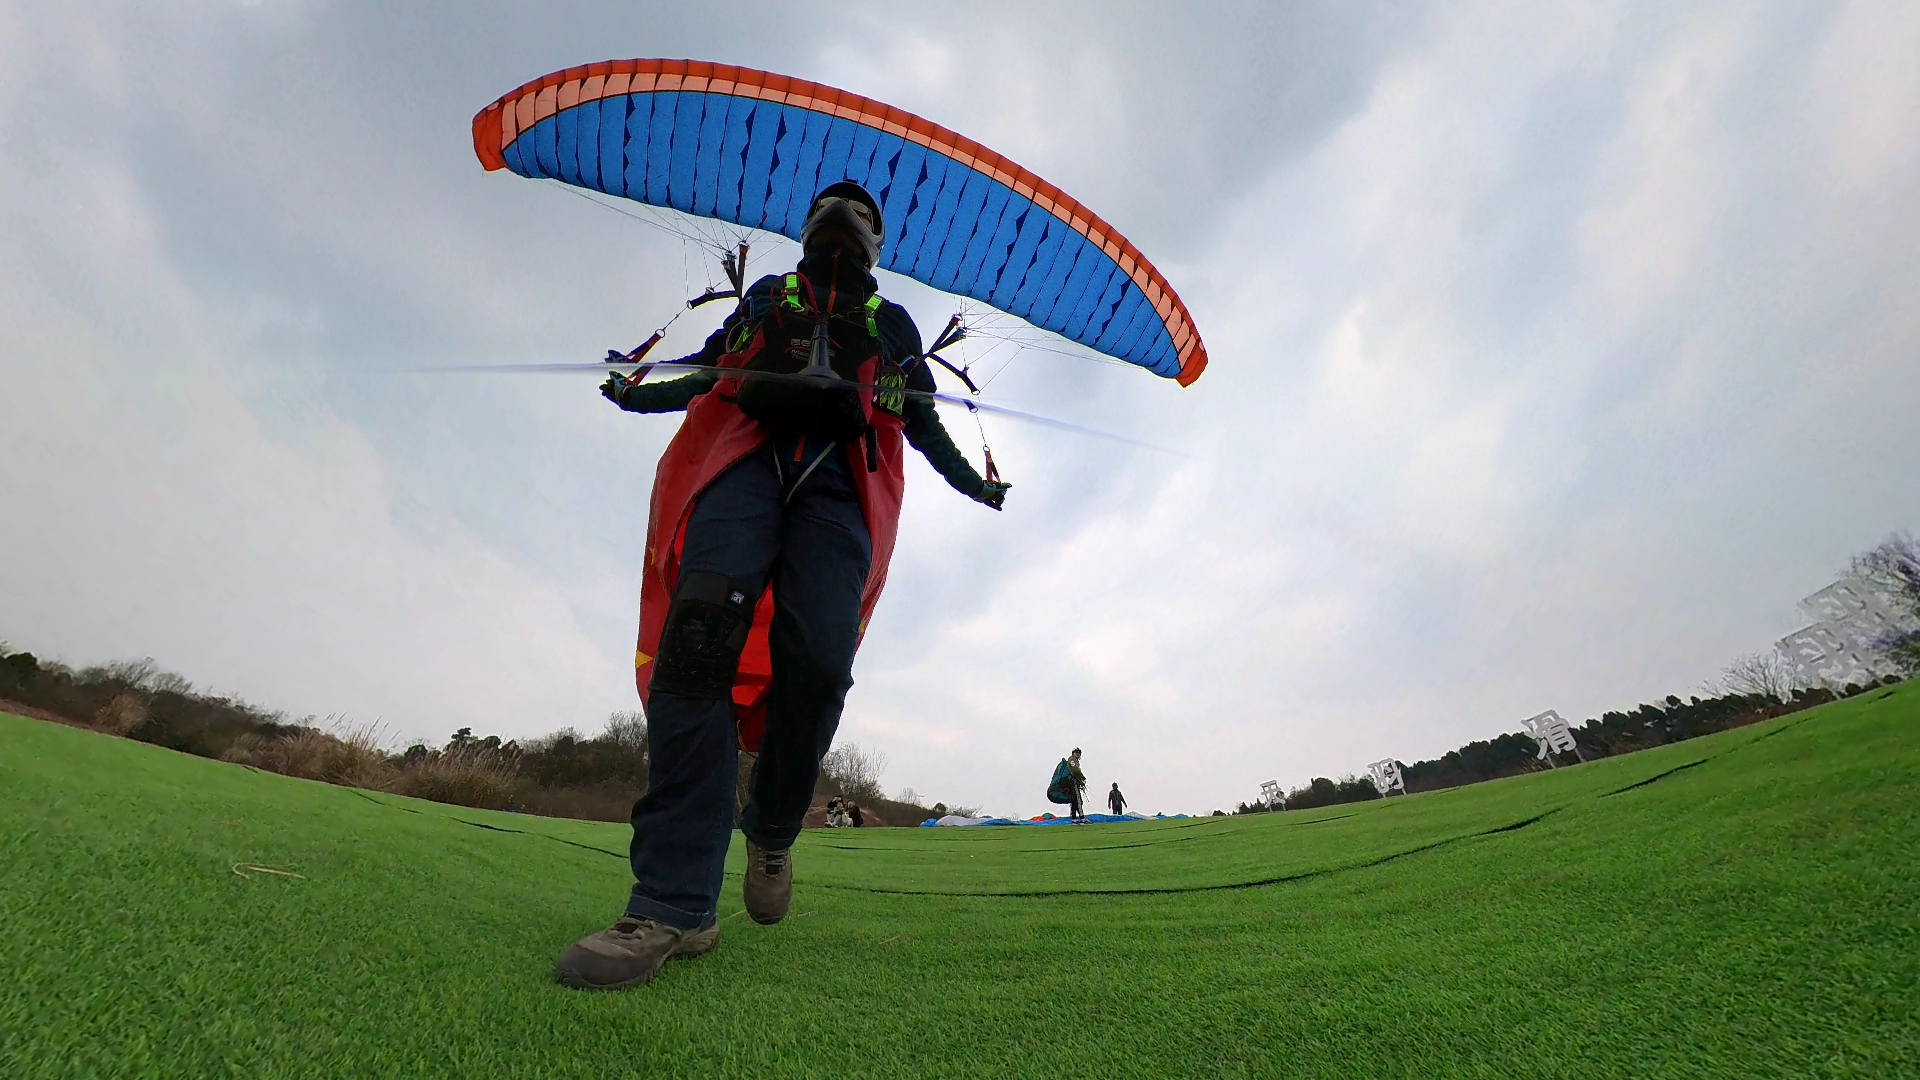
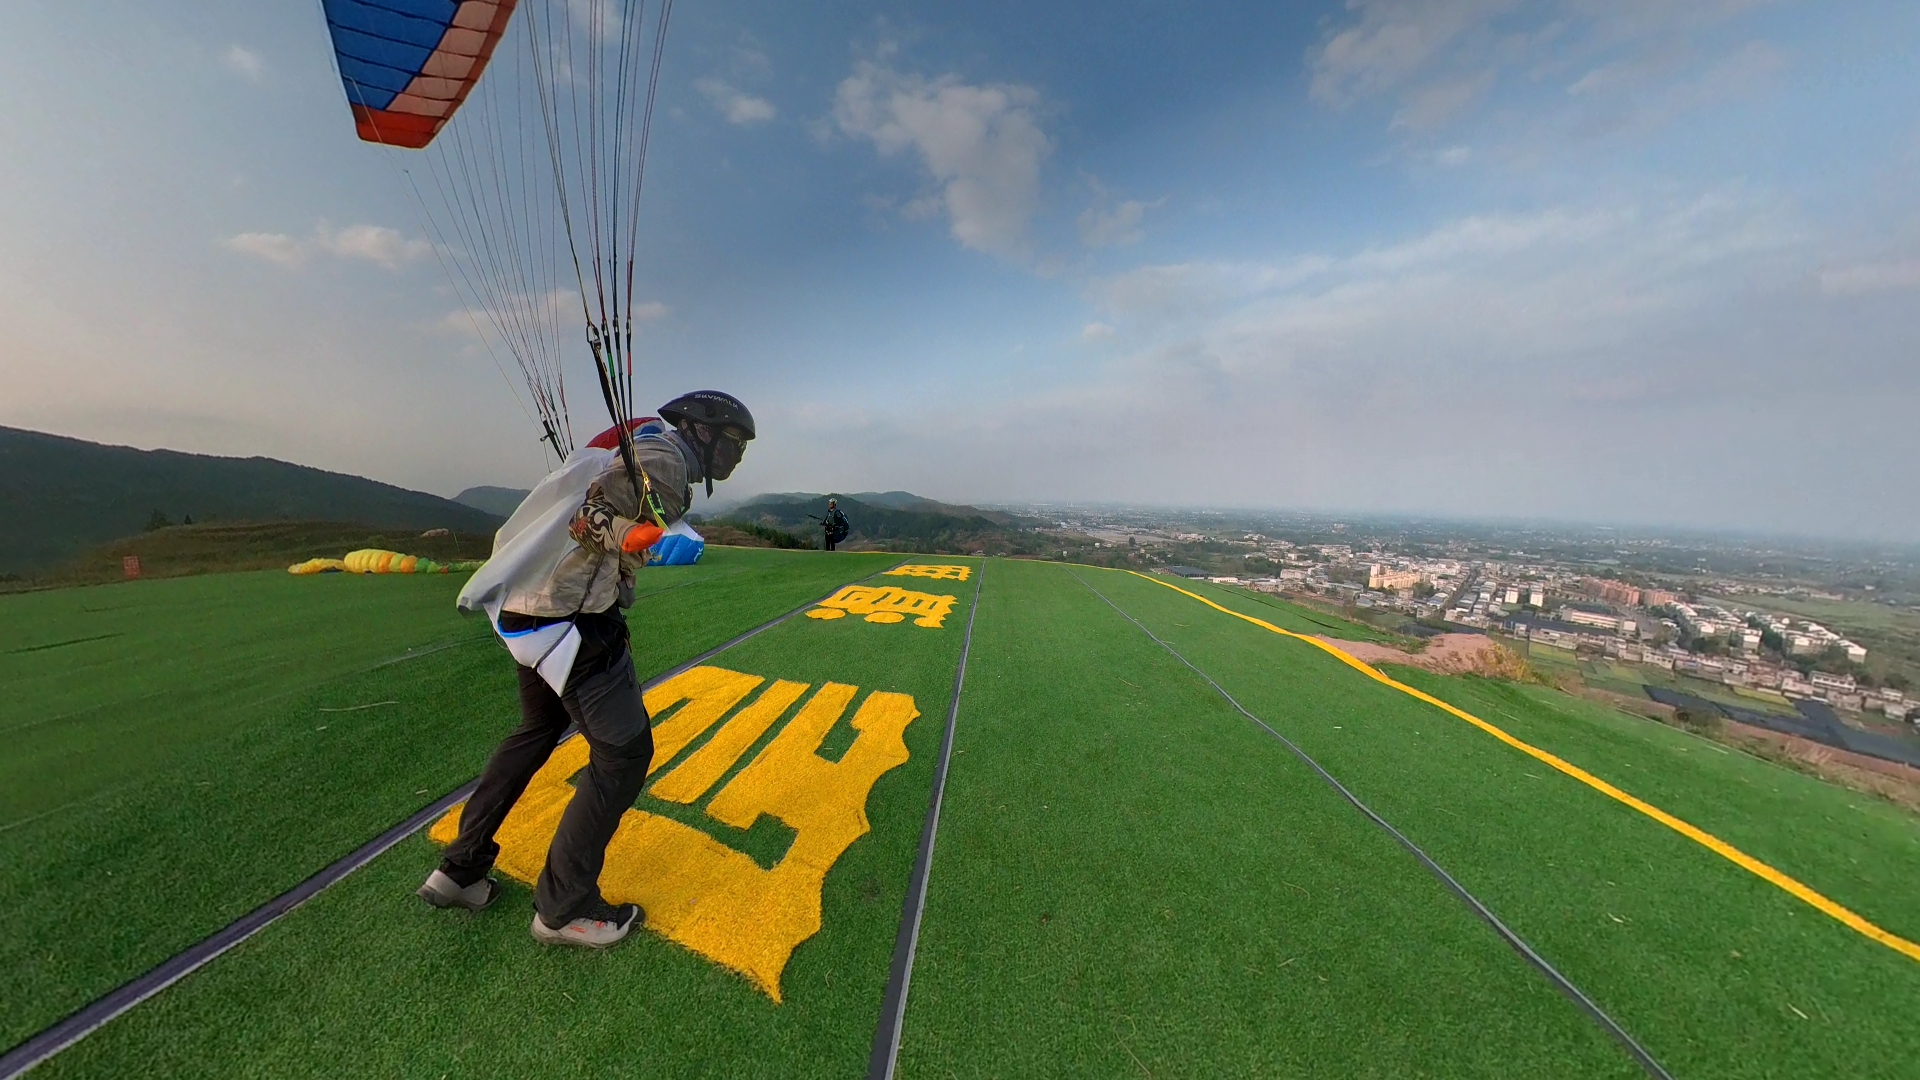
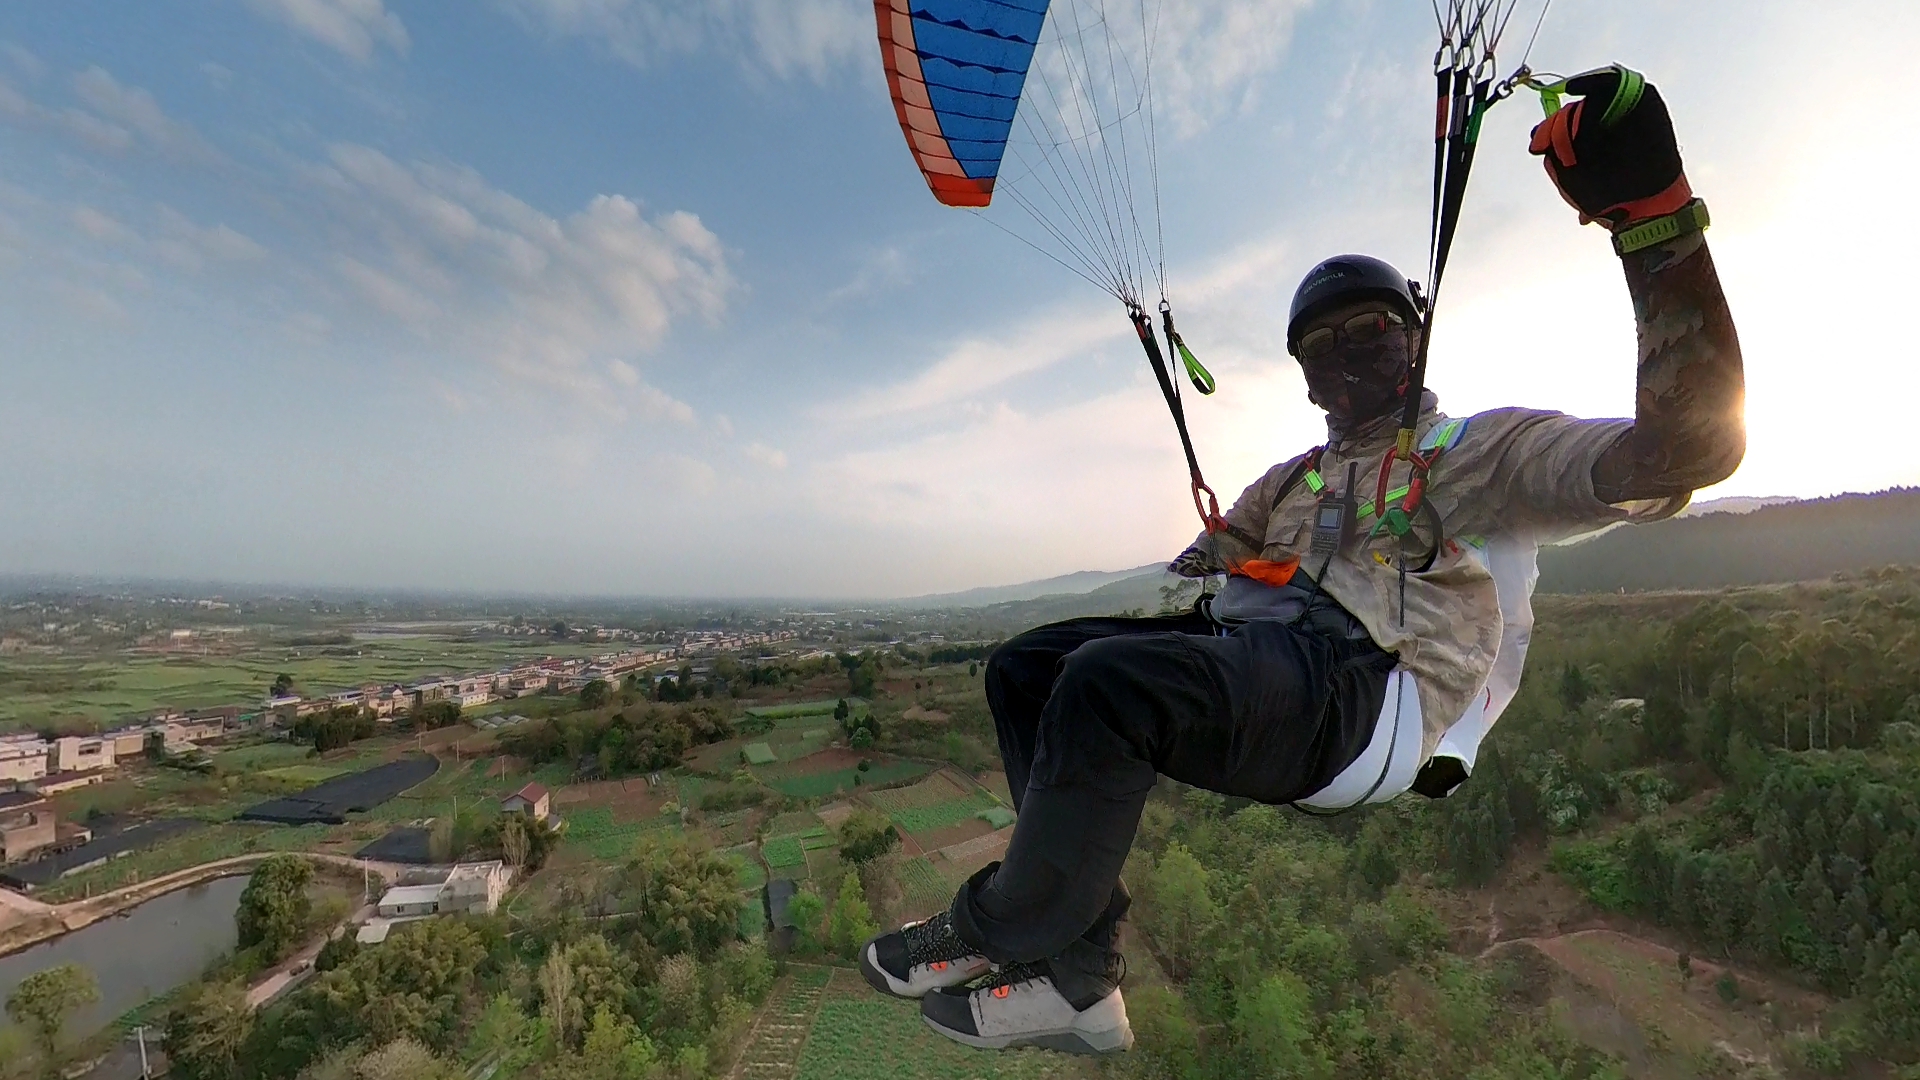
Figure 1. BHL5-24 成都 "Chengdu" in flight
1. DESCRIPTION
2. TECHNICAL ESPECIFICATIONS BHL5-24 成都 "CHENGDU"
BARRETINA HYPER LITE 5
Figure 1. BHL5-24 成都 "Chengdu" in flight
1. DESCRIPTION
BHL5-24 成都 "Chengdu" is the BHL5 version by Zhu Guoqiang (国国强 ). The general data and DXF / PDF drawings of the general version can be found on the BHL5 main page.
2. TECHNICAL ESPECIFICATIONS BHL5-24 成都 "CHENGDU"