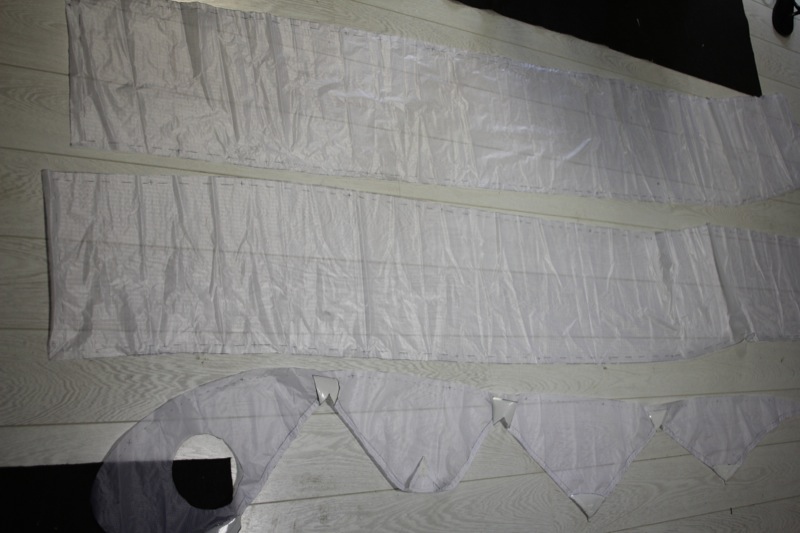
1. Julien
begins the design
compiling the leparagliding source code
with gfortran
in
a Mac OSX computer. After introducing the parameter
0.836 for the desired surface,
program generates the output files. One of the first difficulties is finish adjusting
DXF files generated,
using a CAD program.
The fabric covers of air intakes,
are already included in the top drawn panels? |
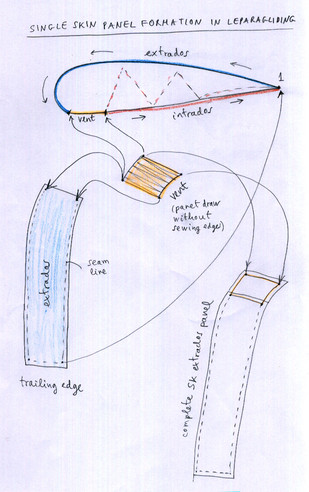
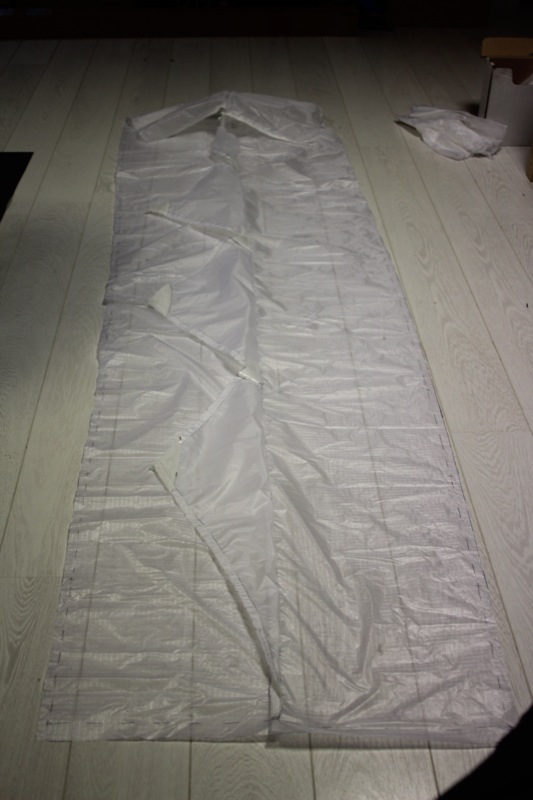
2. Explanation
of how put together (in CAD),
covers of the air intakes with the rest
of the top surface
of the SK panel. |

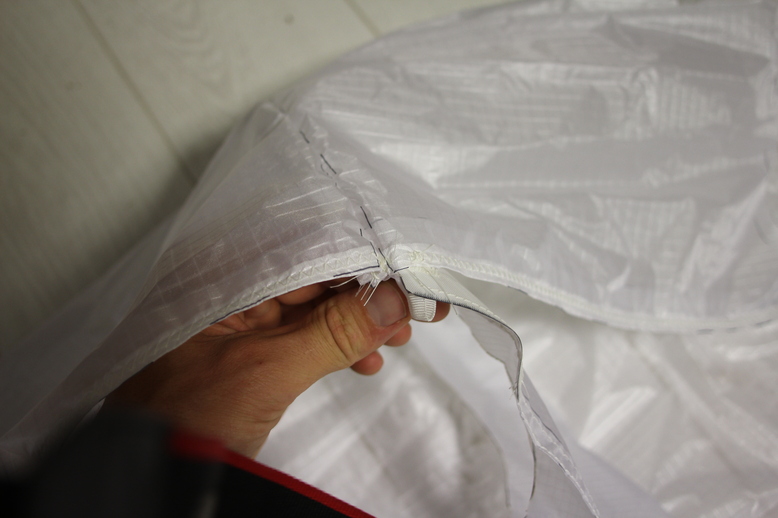
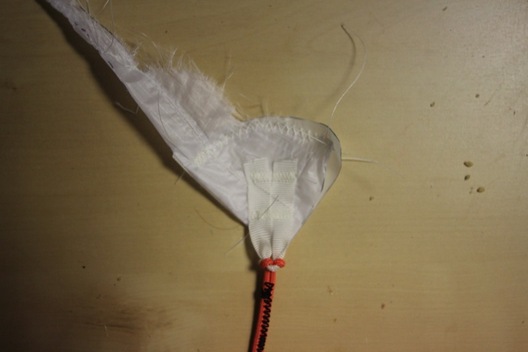
3. Test 2 assembly in Millot's Atelier:
load into triangles.
Before deciding the final
method of sewing and
reinforcement to
apply,
is always interesting perform destructive experiments with
full scale samples. |

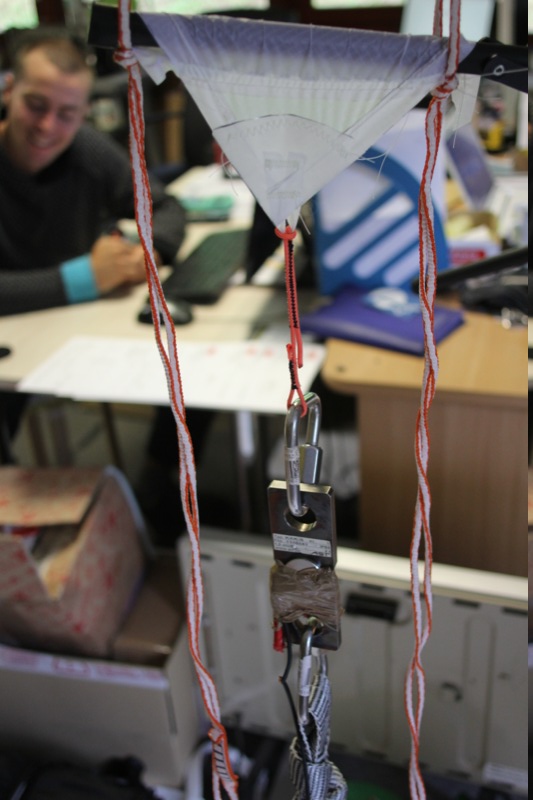
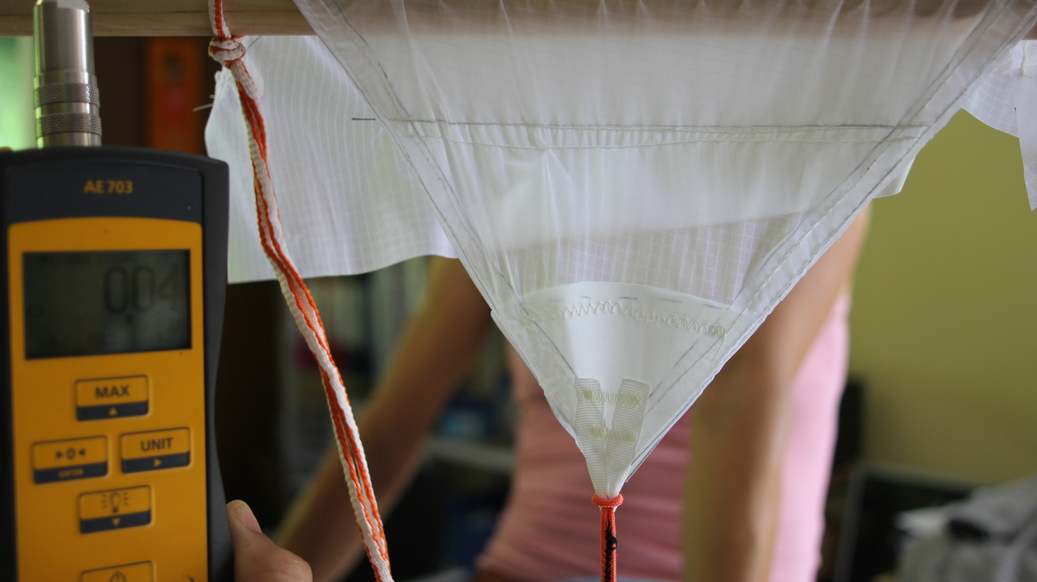
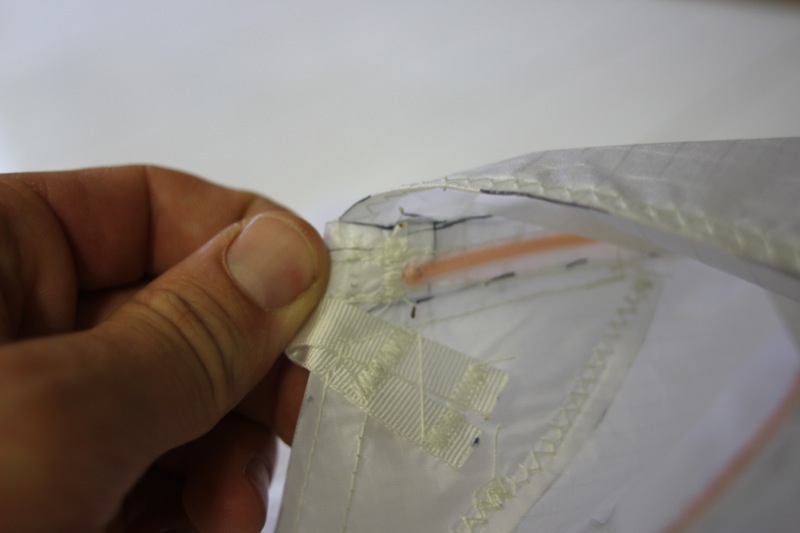
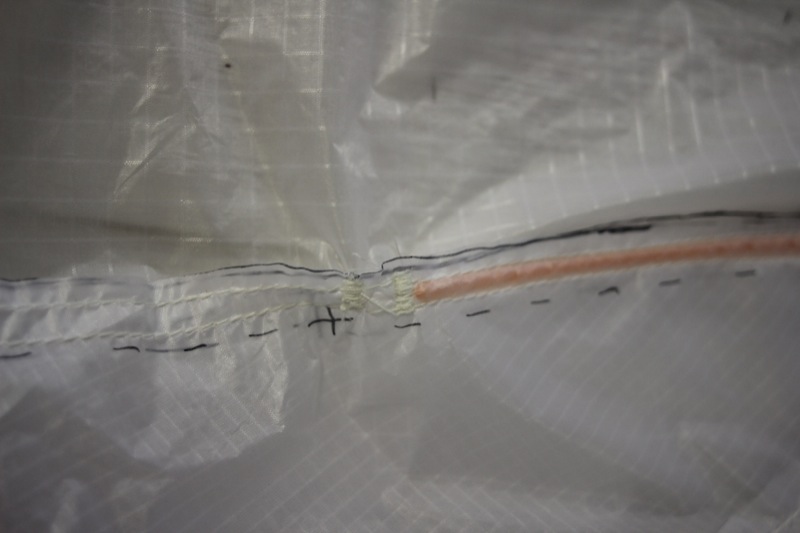
4. Triangle
row "B", model. Before test.
Mylar reinforcement radius is 6 cm.
All these experiments, although simple, and although not exactly
reflect the real situation,
are VERY interesting.
It is recommended that all builders do similar tests,
with the most important structural elements of the wing.
|
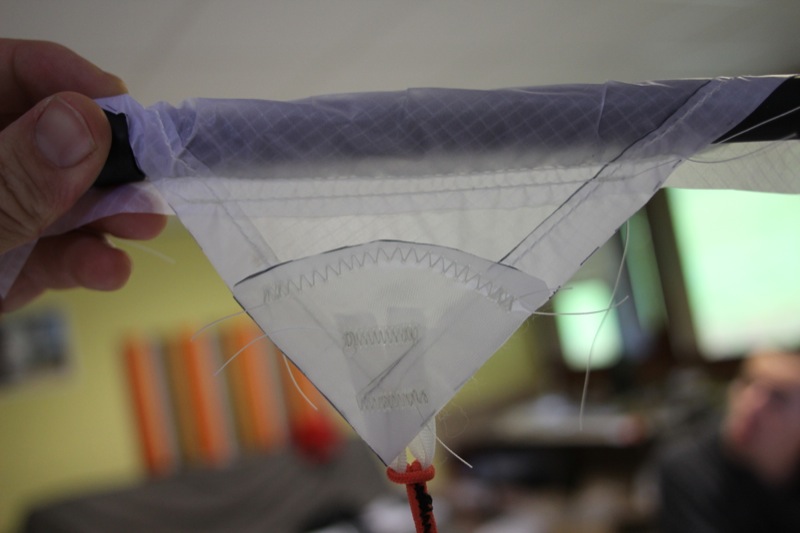
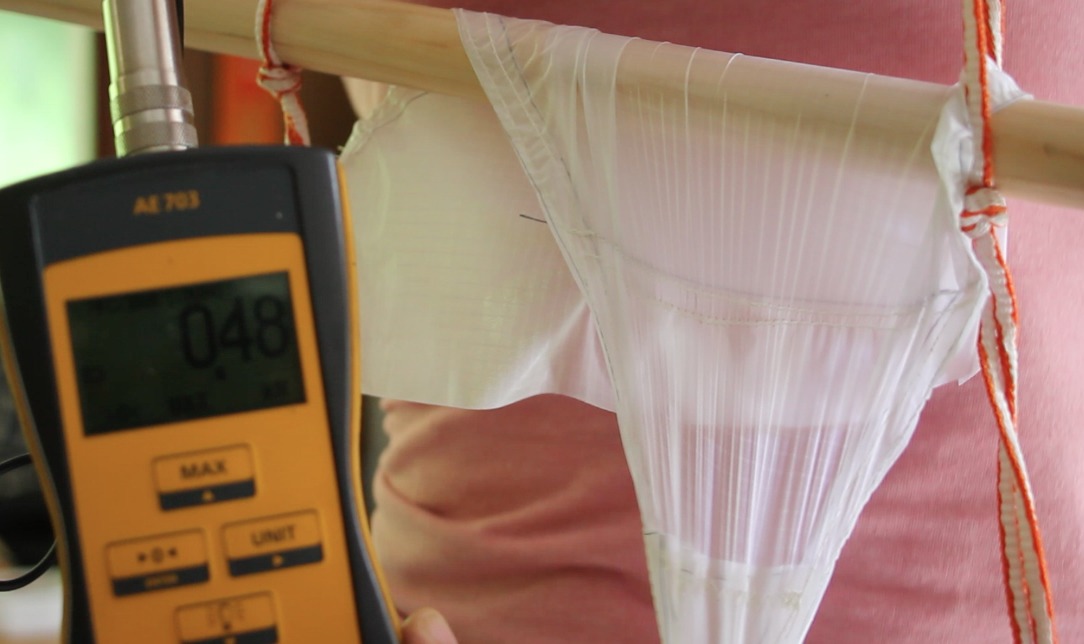
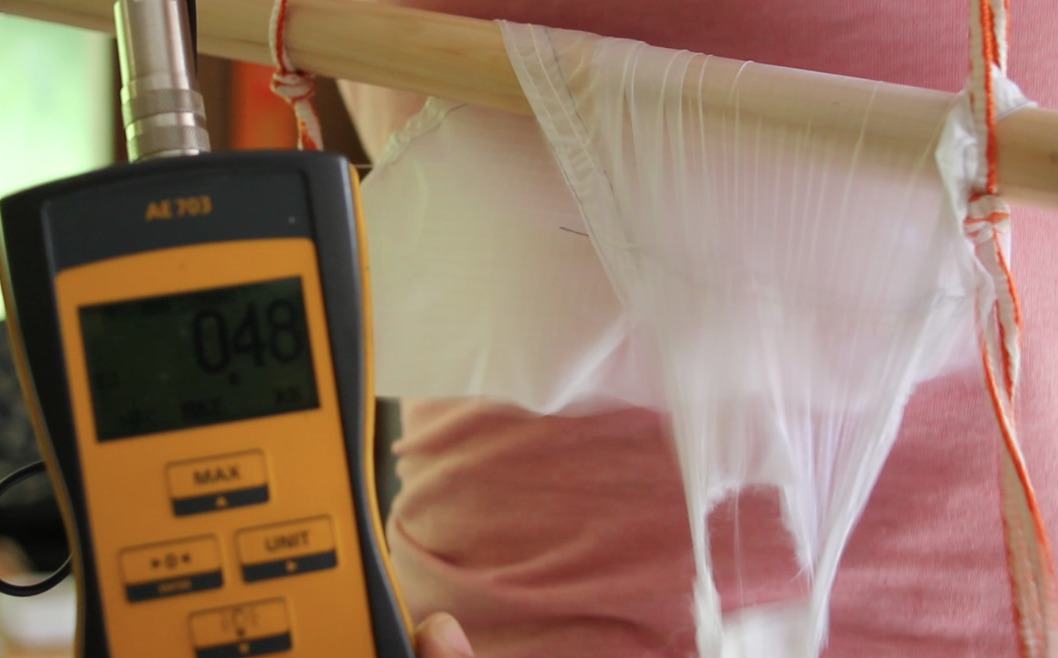
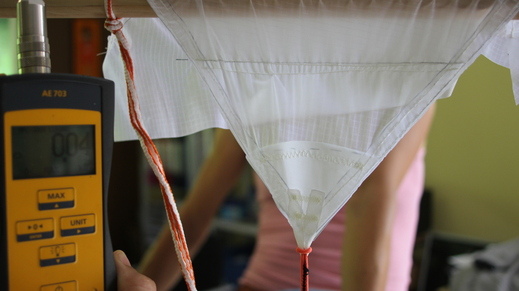
5. Test
2 triangle after experiment.
21kg before the first deformation, 32kg break.
The mylar seam loop is intact.
The rupture took place between the mylar and
Skytex the zigzag stitching.
Slight dyssimétrie support.
|

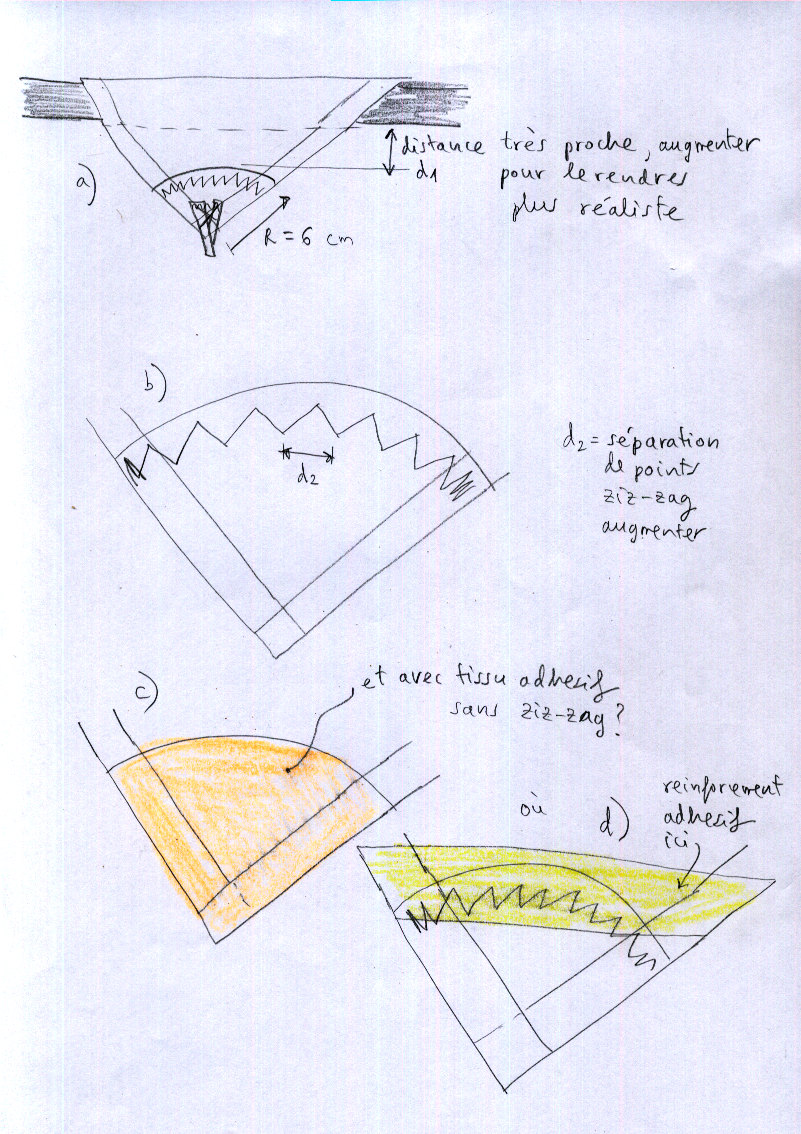
6. Some options to improve the results of experiments. |
7. Test
3, before.
Mylar reinforcement radius is 7 cm.
|

8. Test 3, full
load.
|
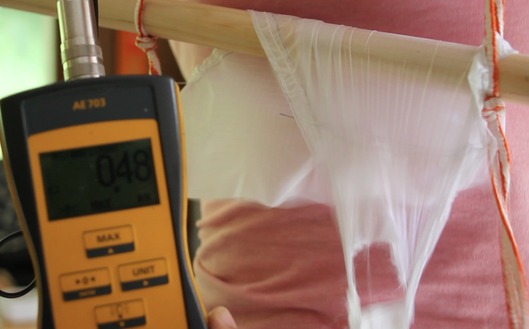
9. Test 3. Breaking load 48kg on the zigzag stitching at the center of
ripstop first.
That is enough? The rule:
"Lines (A1 + A2 + B1 + B2) x 2, should hold 8 times the weight in flight."
Means that a in
balanced flight, in "C" and "D" rows
is almost no load,
and A3 and B3 have very little... Then only the four main lines
of each side ((A1 + A2 +
B1 + B2) x 2) should hold the full load
test of 8G. In our case
(BHL2) we have 9 anchors in A1 + A2,
and also 9 for
B1 + B2. This is (9 +9)
x2 = 36 for both sides.
36 x 48 = 1728
Kg! >
100x8 = 800 Kg
OK! But
it is always prudent to
oversize even more! |

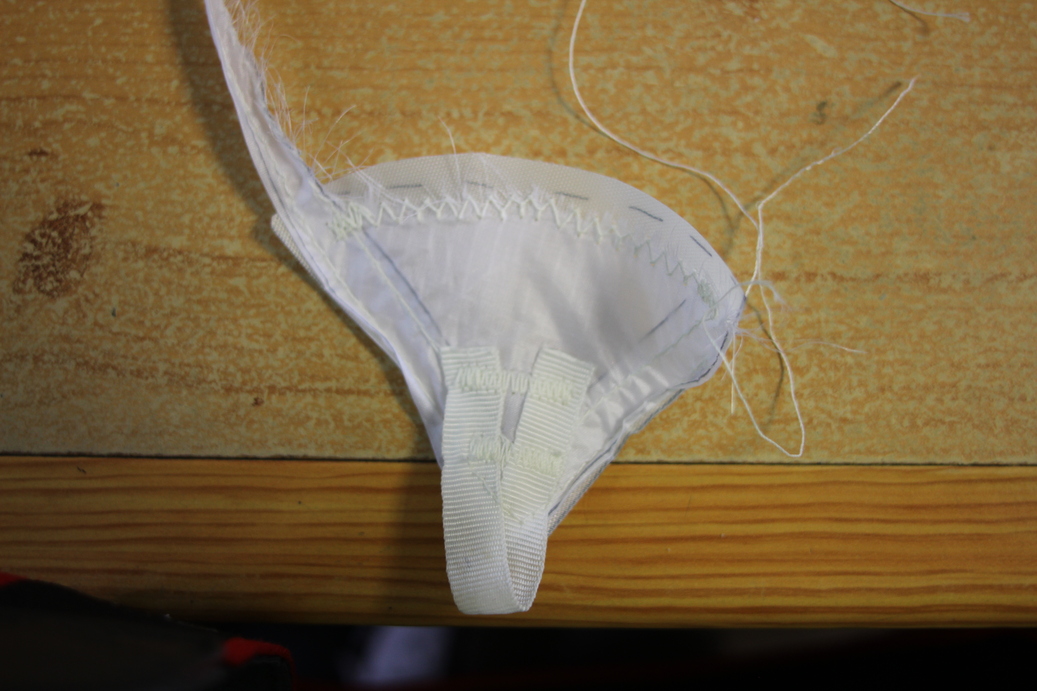
10. Test 3 sample, after experiment.
|

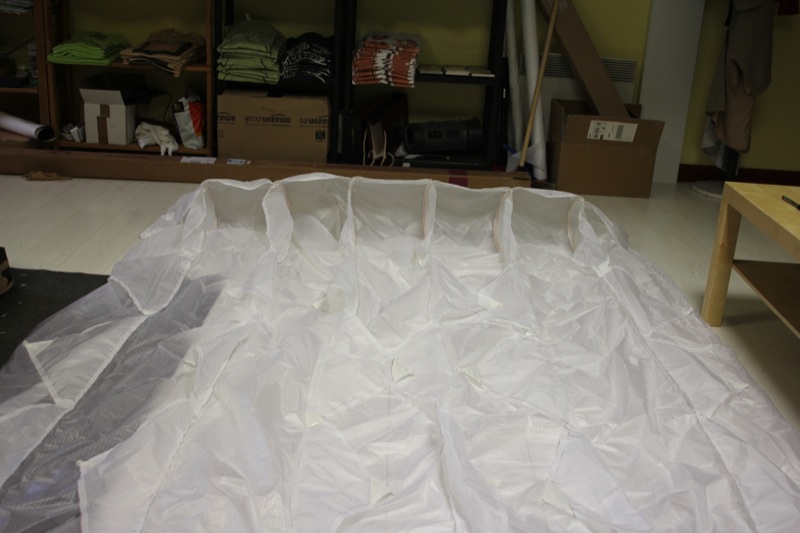
11. First two panels and rib, ready to sew. Start sewing!
First, is
necessary to sew
all the reinforcements
and sawtooth edges
of the ribs.
|

12. First panels sewn. |

13. Nose detail |
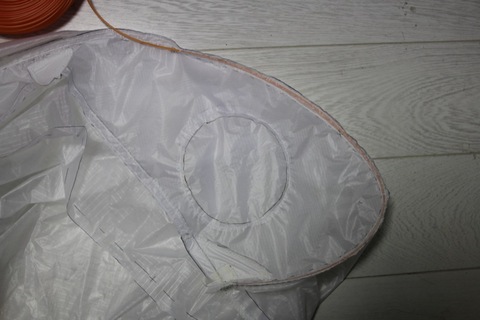
14. Nylon rod inserted in the special "pocket" of the nose. |

15. "A" - end of rod detail |
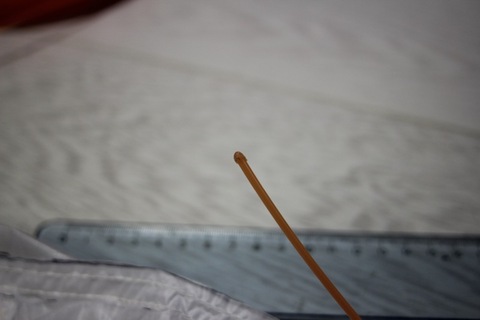
16. End of the rod, softened with
heat to round shapes |

17. The other end
of the nylon
|
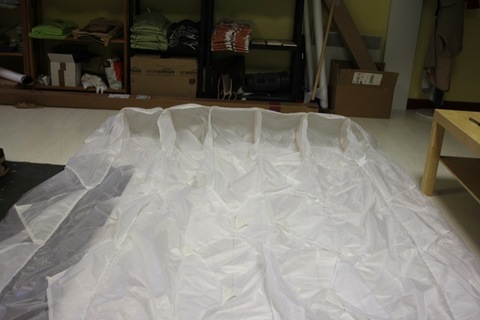
18. Cela commence à ressembler à une aile monosurface!
This is starting to look like a single skin wing! |
|
|