
BARRETINA
HYPER LITE "JAP"
This
model follows strictly the plans of the original BHL except
lines, which are new and improved. It is recommended to any BHL builder, use these new
lines, instead of
the previous.
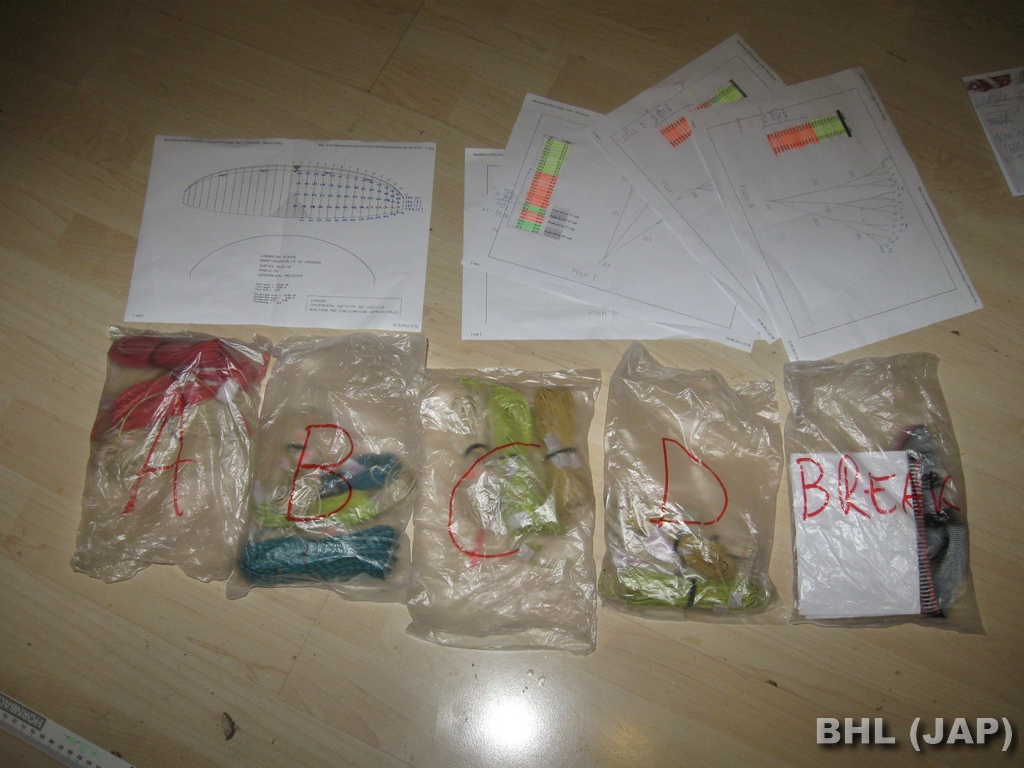
Here the new set of lines (.xls) : JAP-Lines
Lines schema (.zip .dxf file) : Lines-schema
3D model (.zip .dxf file) : 3D-model
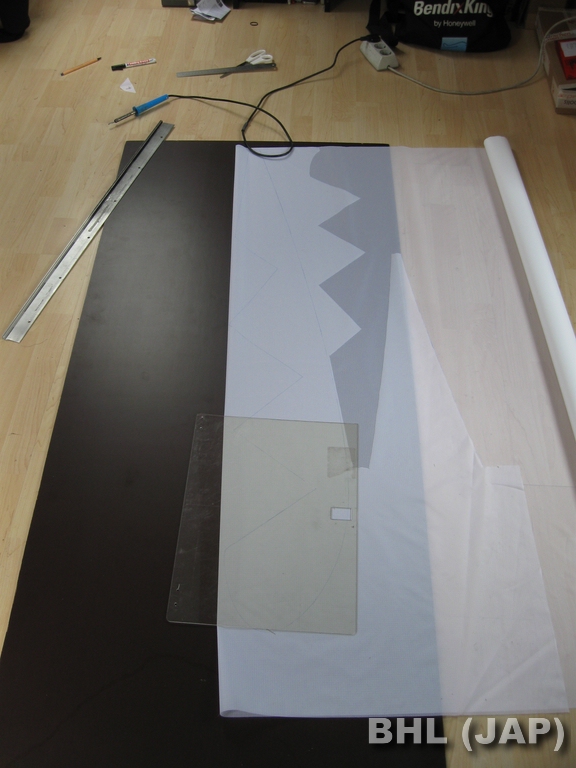 1. Start of work |
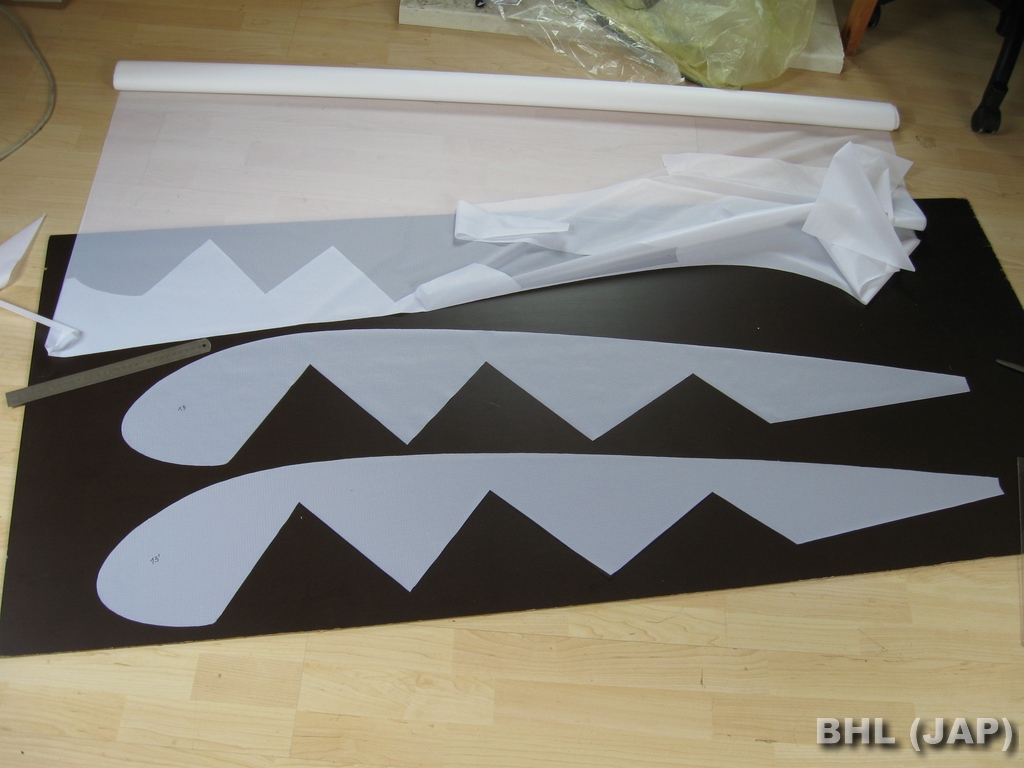 2. Several ribs cut. |
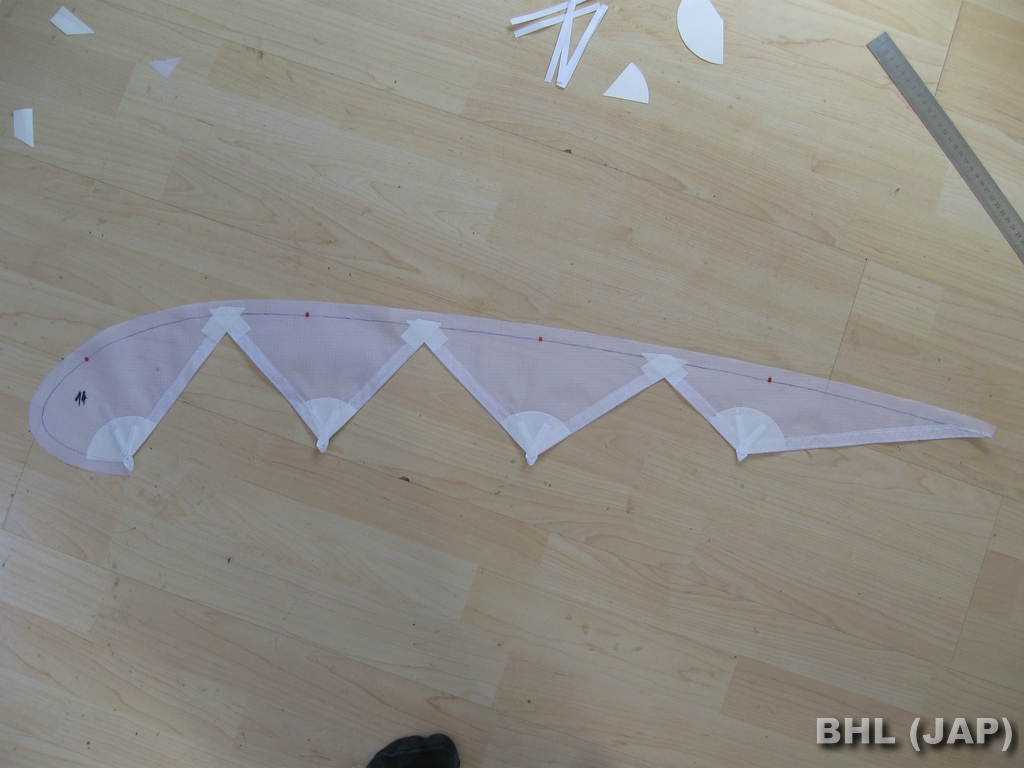 3. Rib completed, with reinforcements |
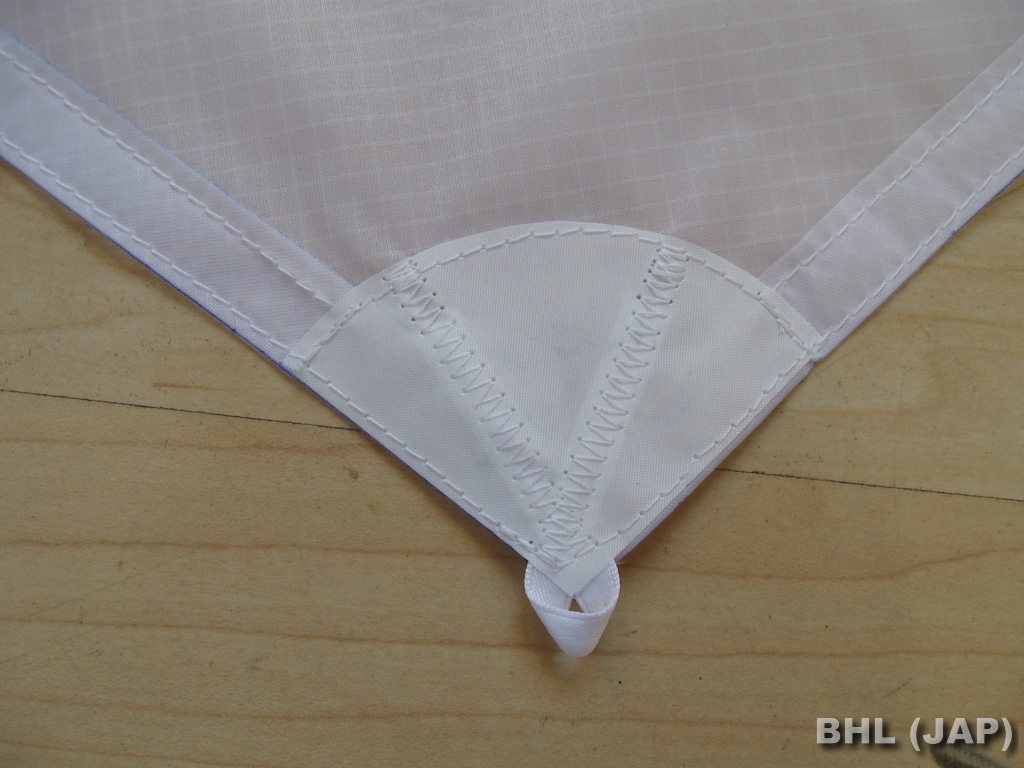 4. Anchor detail |
 5. Ribs, with characteristic sawtooth... |
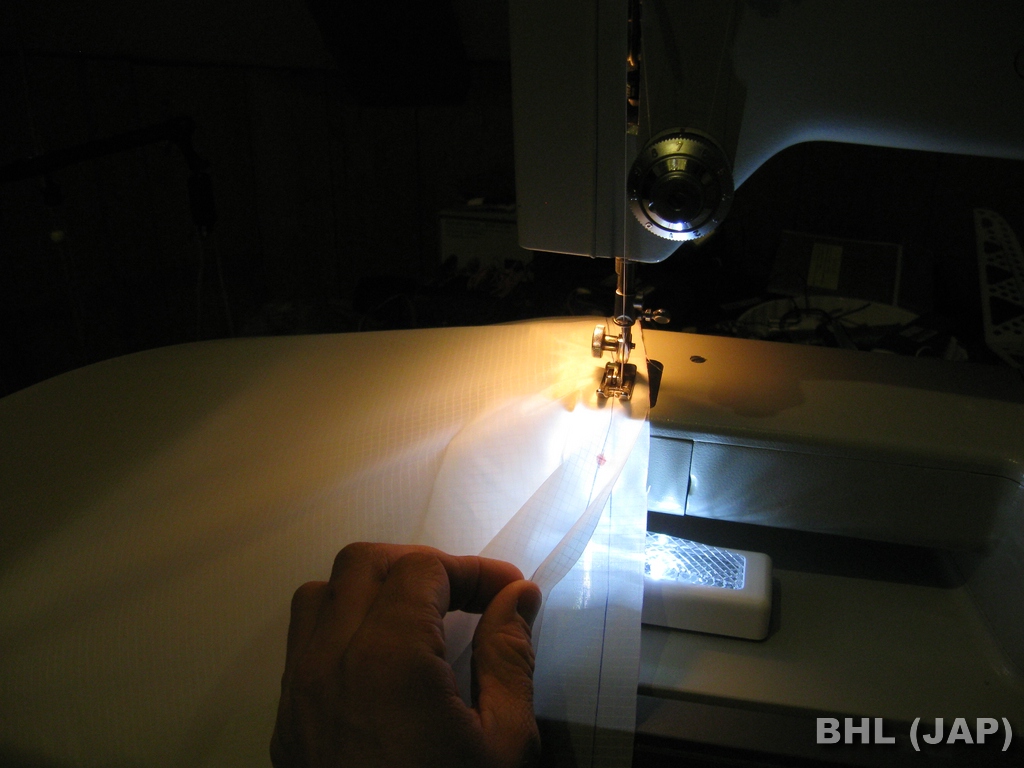
 6. Foot with special guide to sewing lines |
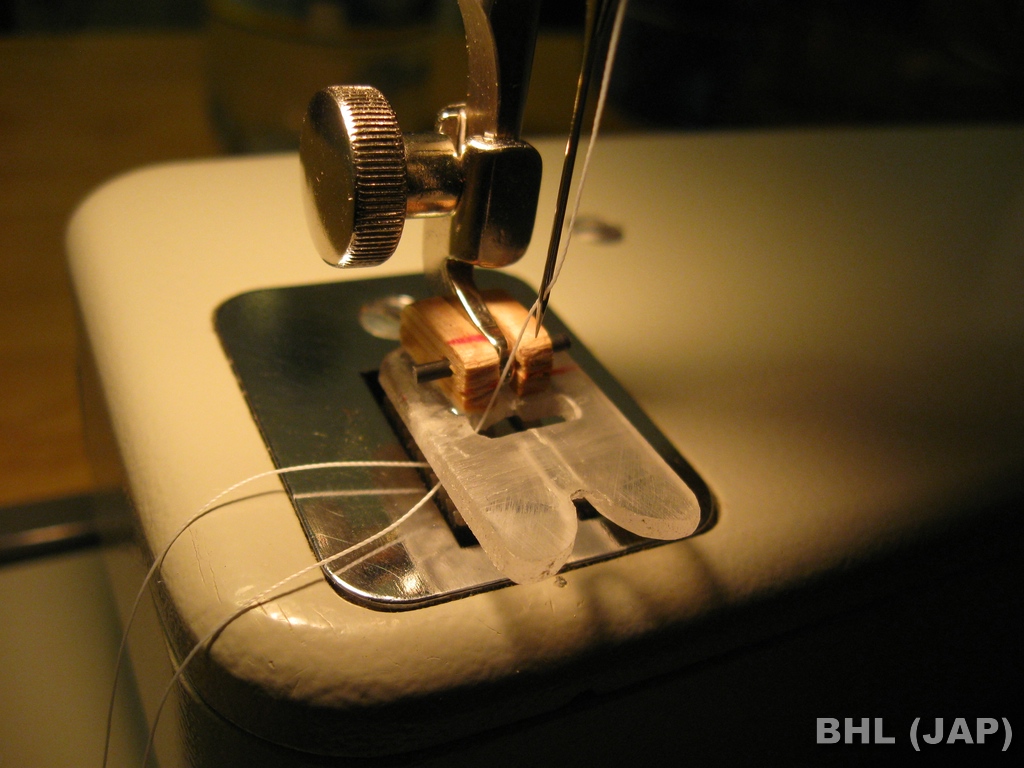
 7. Line sewing |
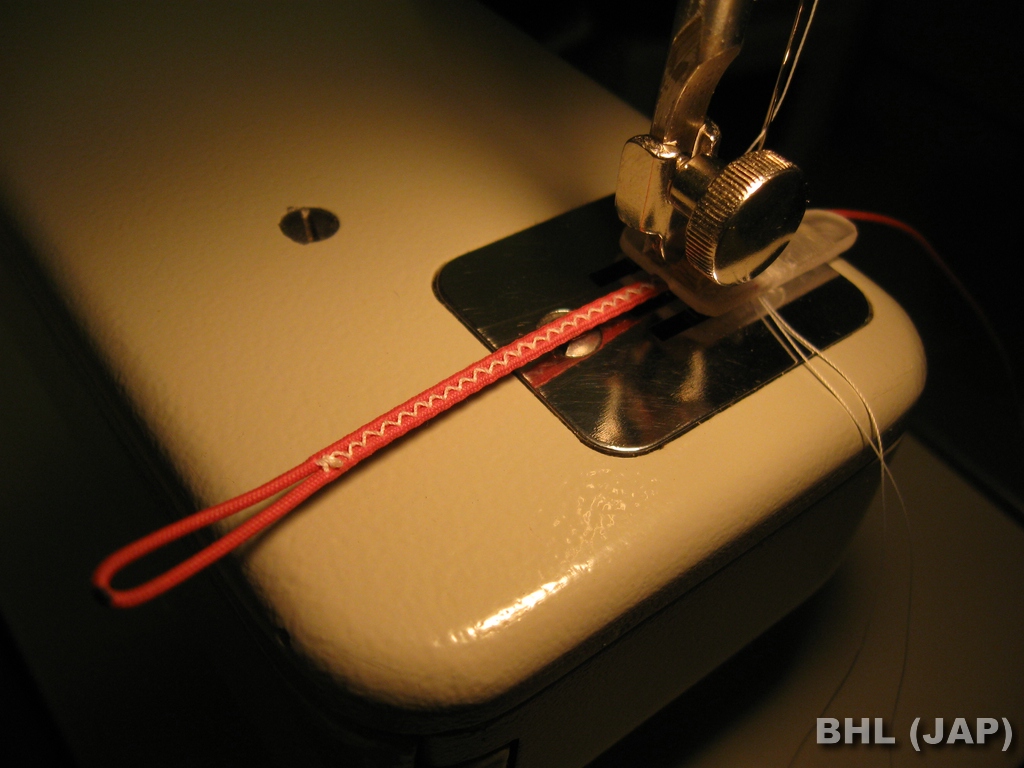
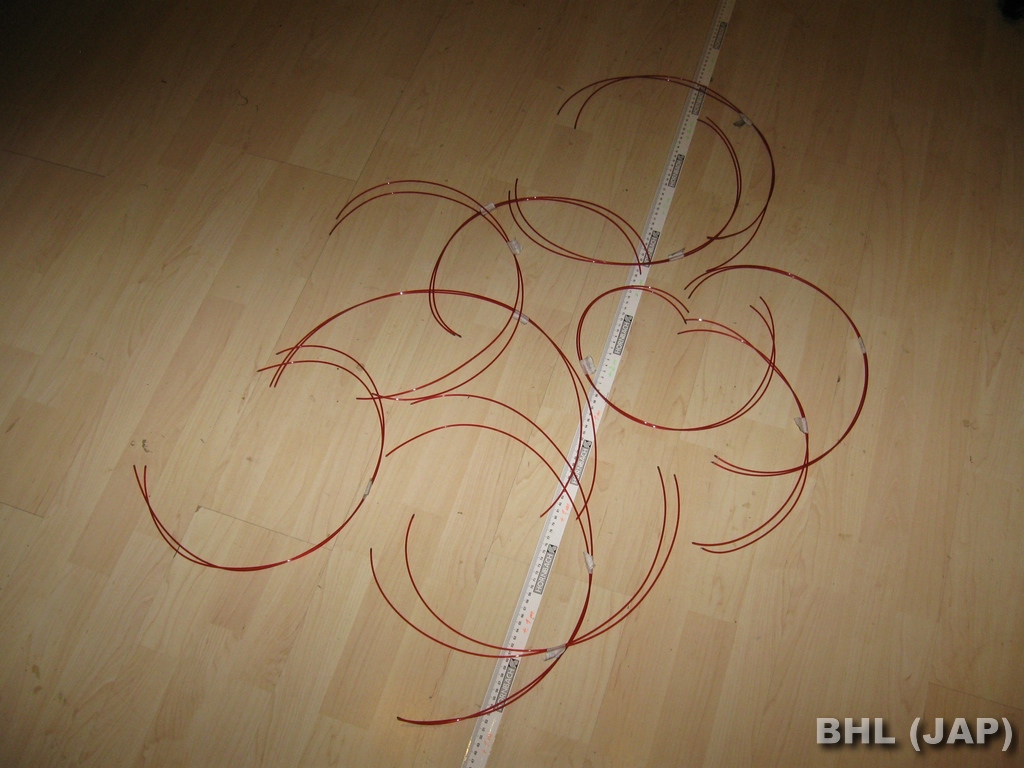
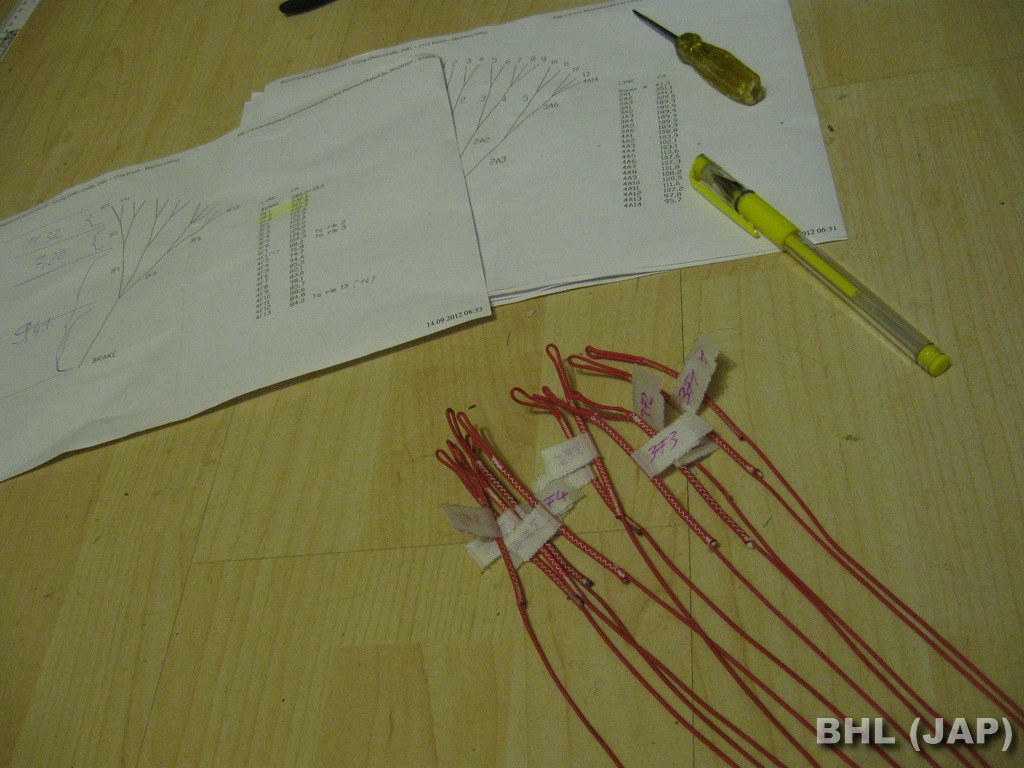 8. Brake lines |
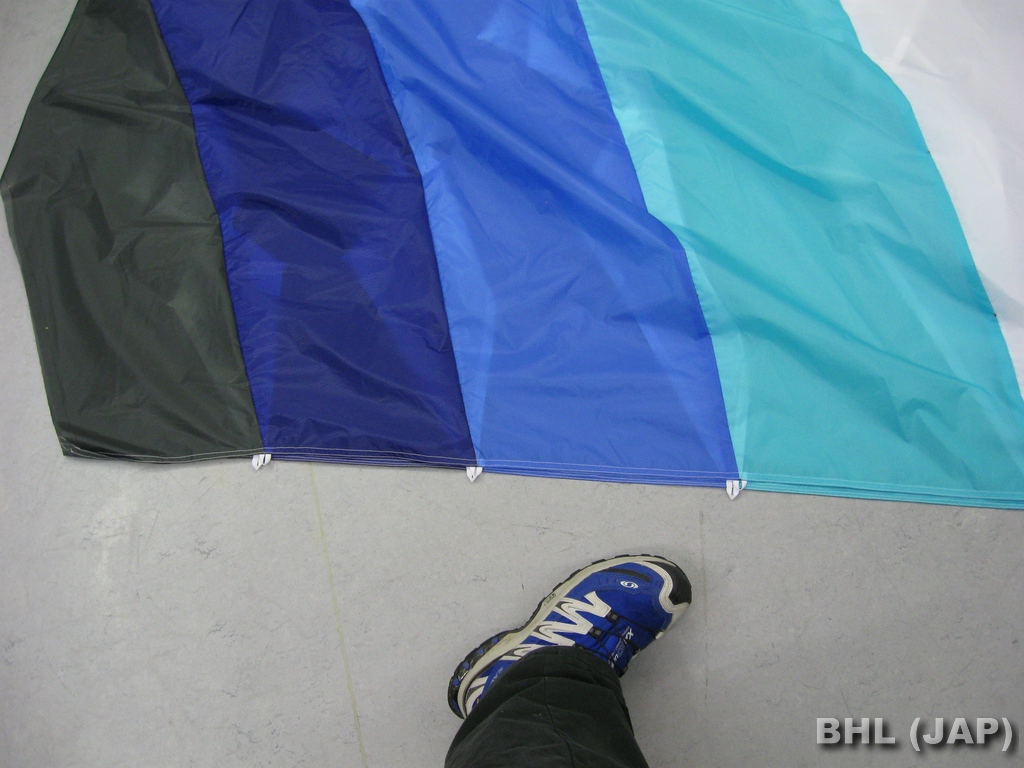
 10: Leading edge reinforcement |
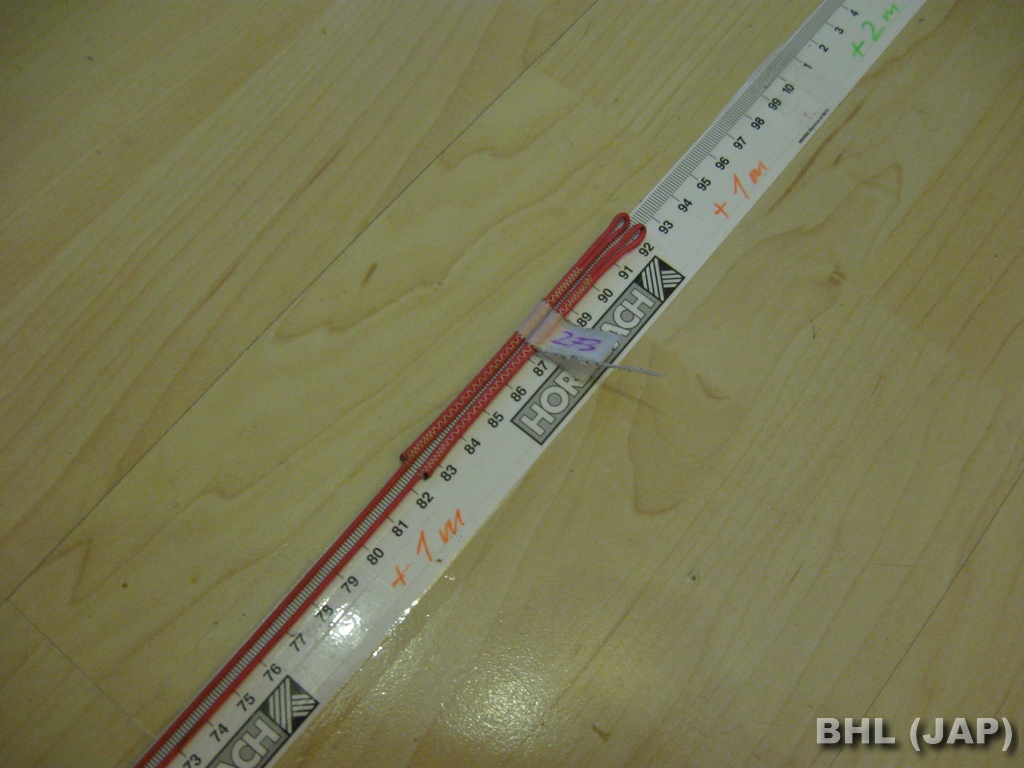
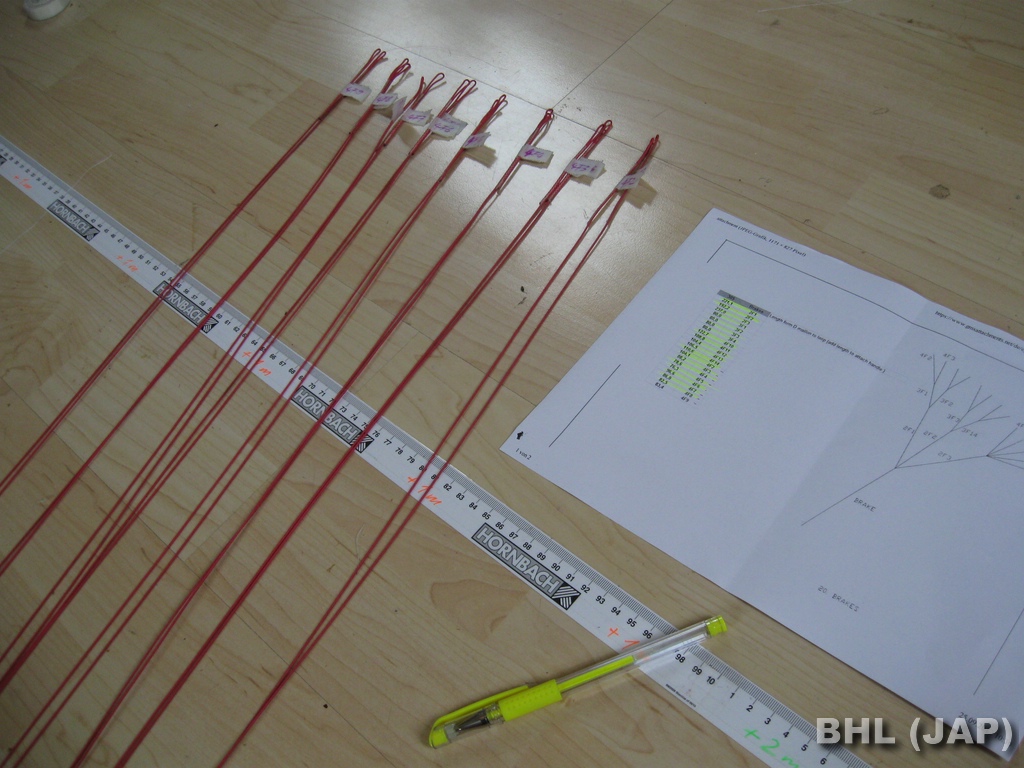
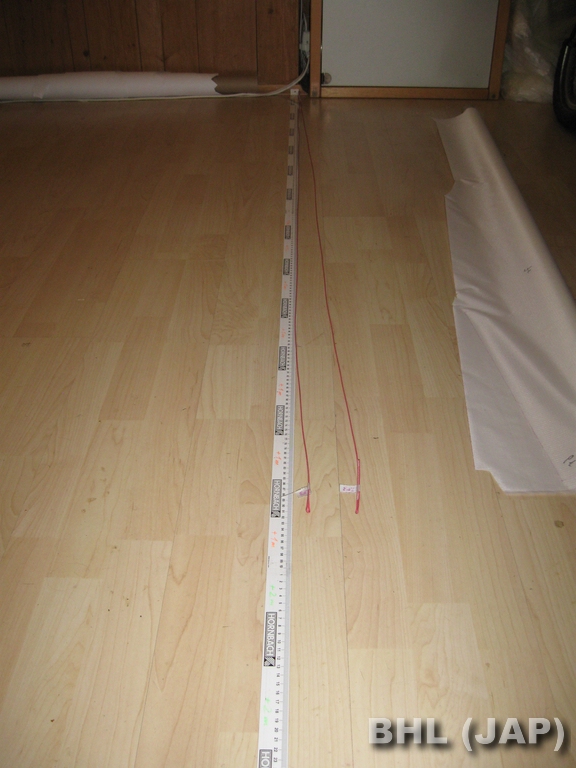 11: Scale for Lines |
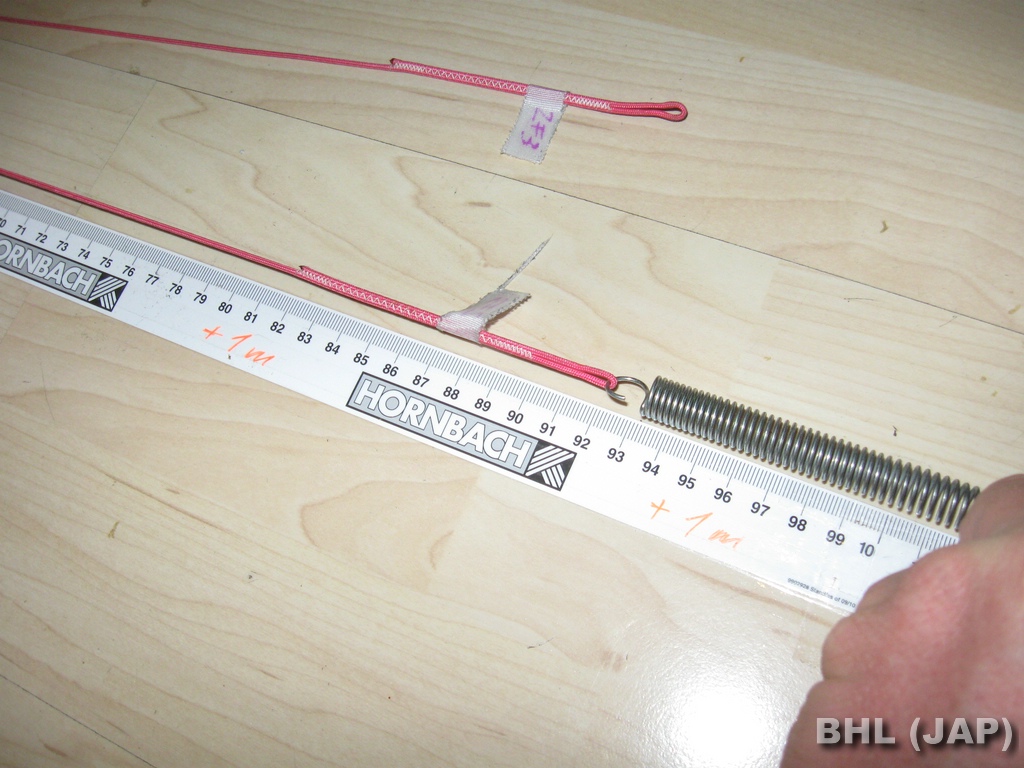 12: Checking the length with a spring |
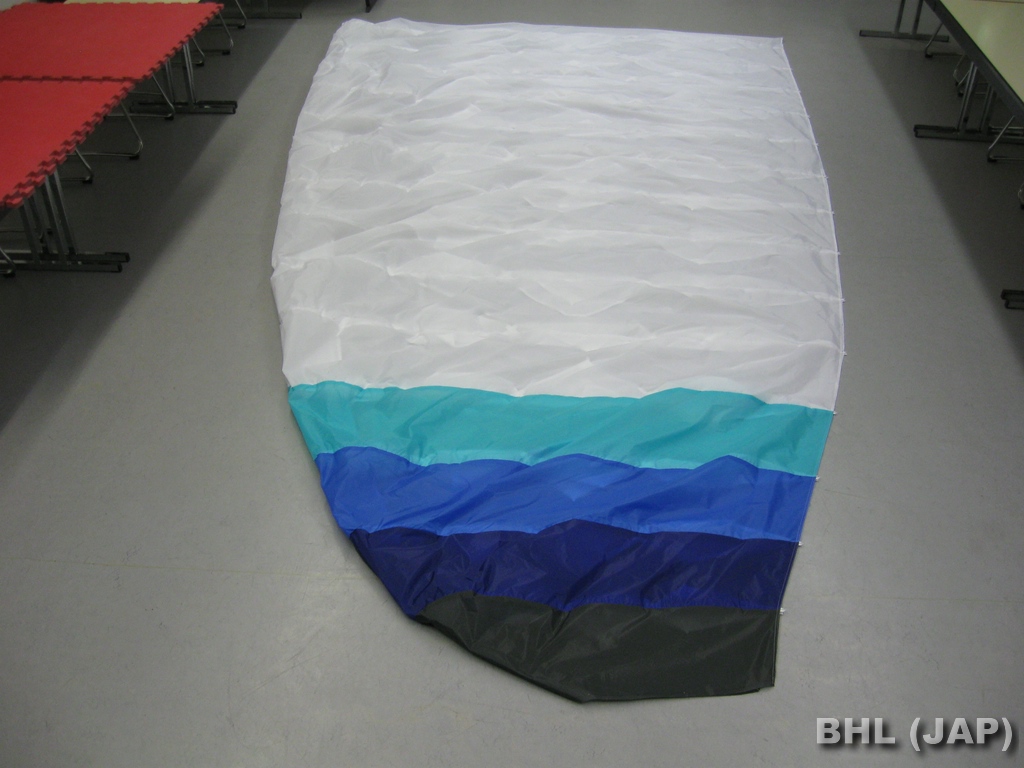
 13: Result |
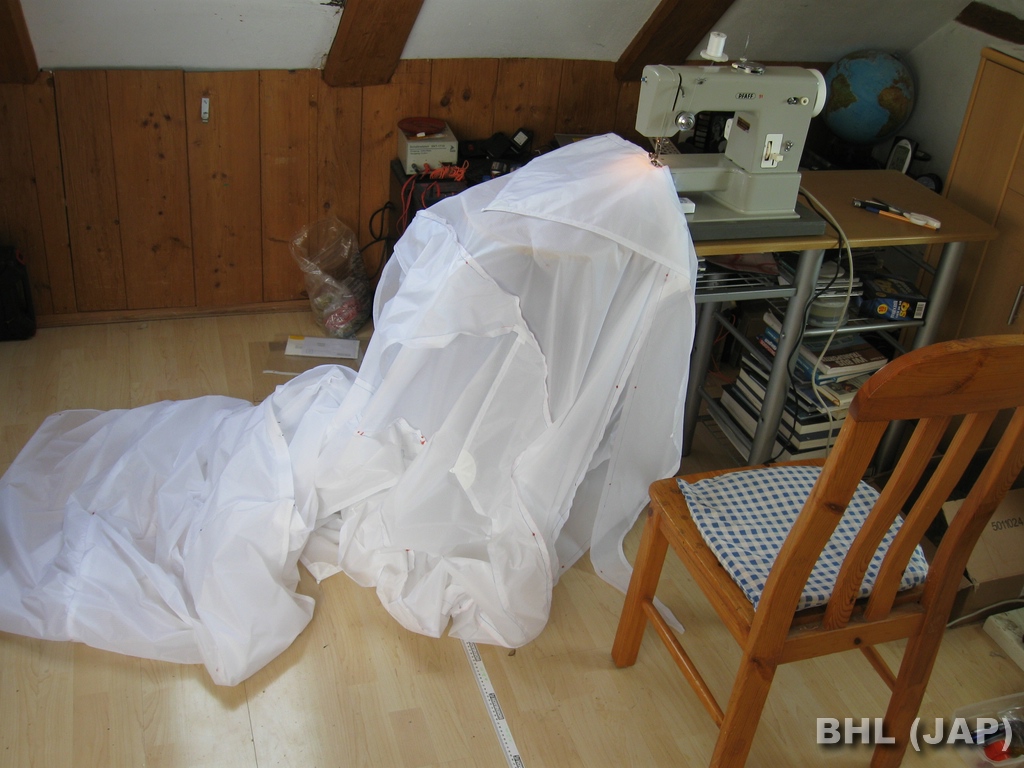
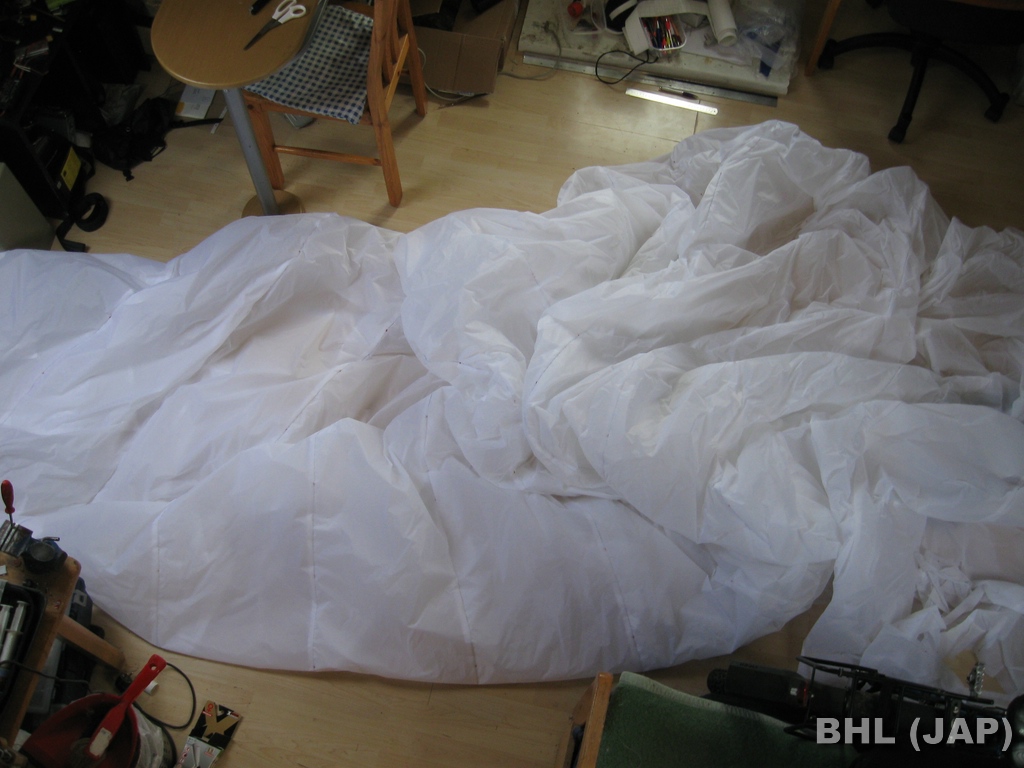
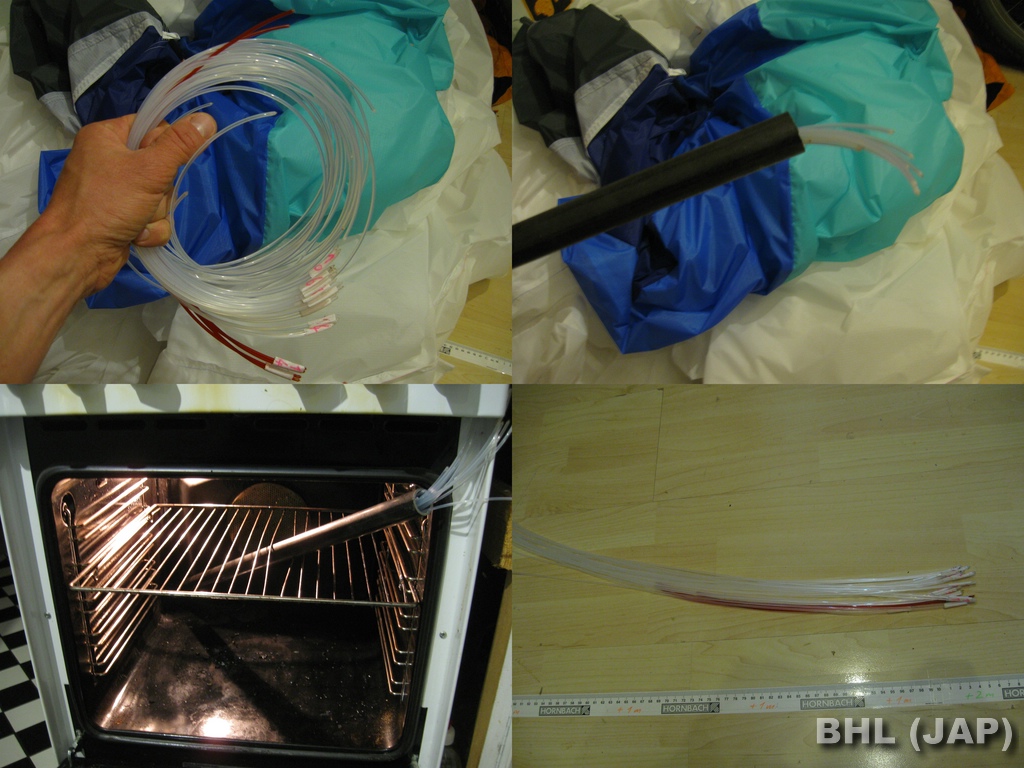
 14: Nylon rods (will be replaced by white ones) |
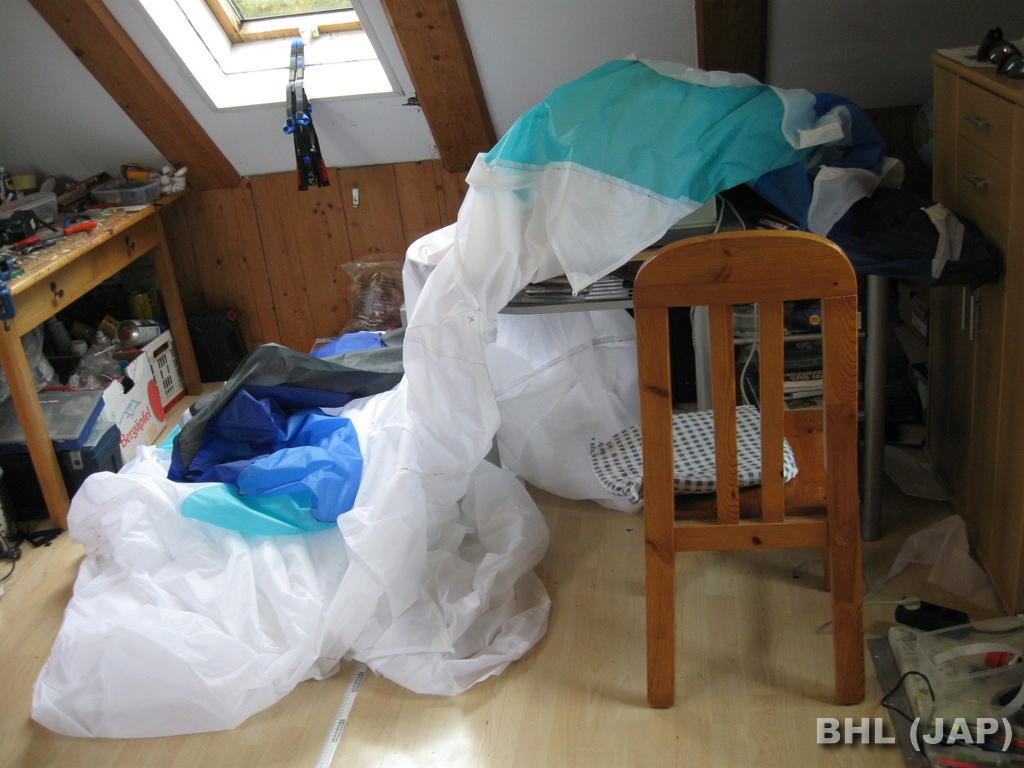
 15: Break lines |
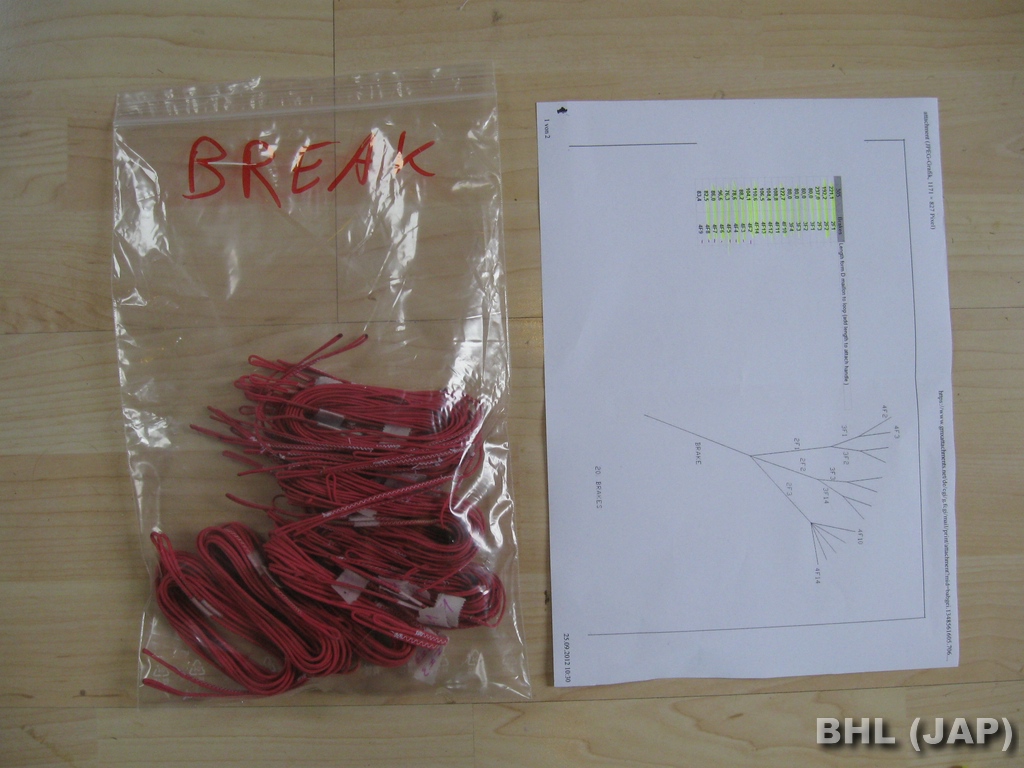 16: Break lines finished |
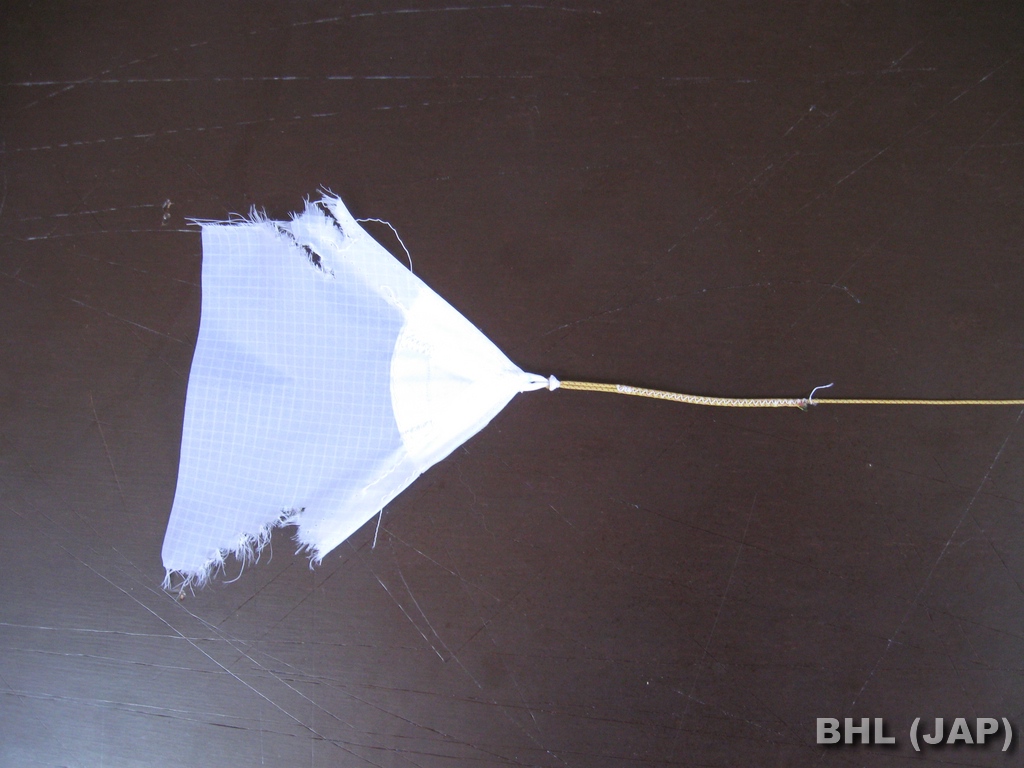 17: Triangle load test |
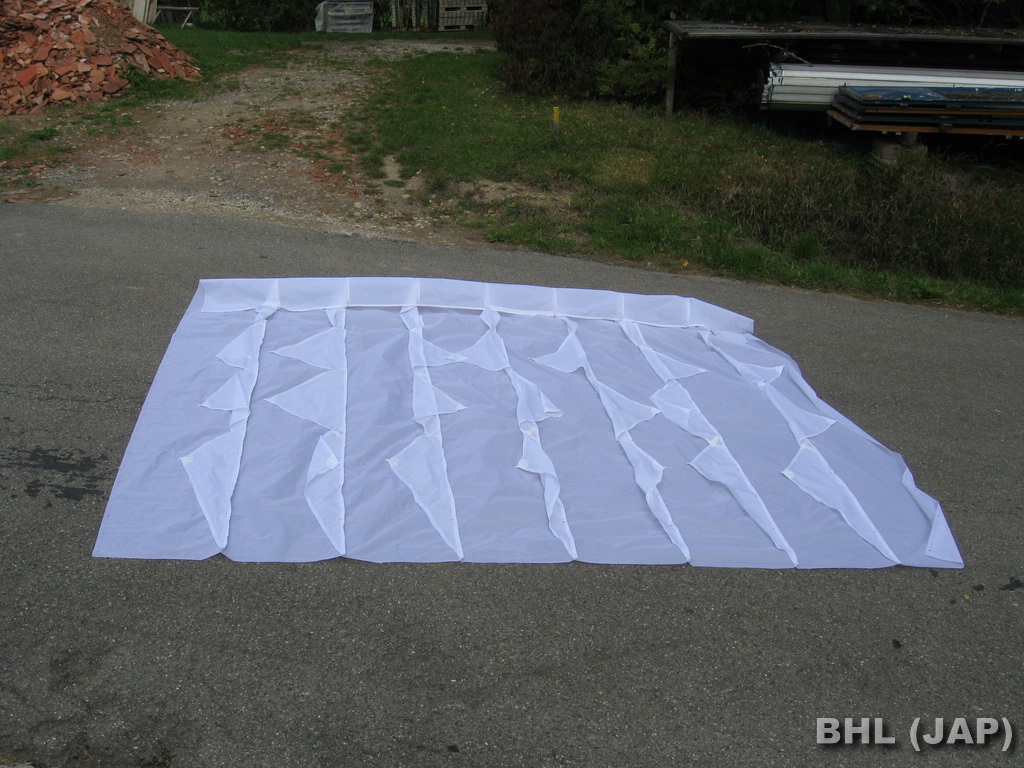
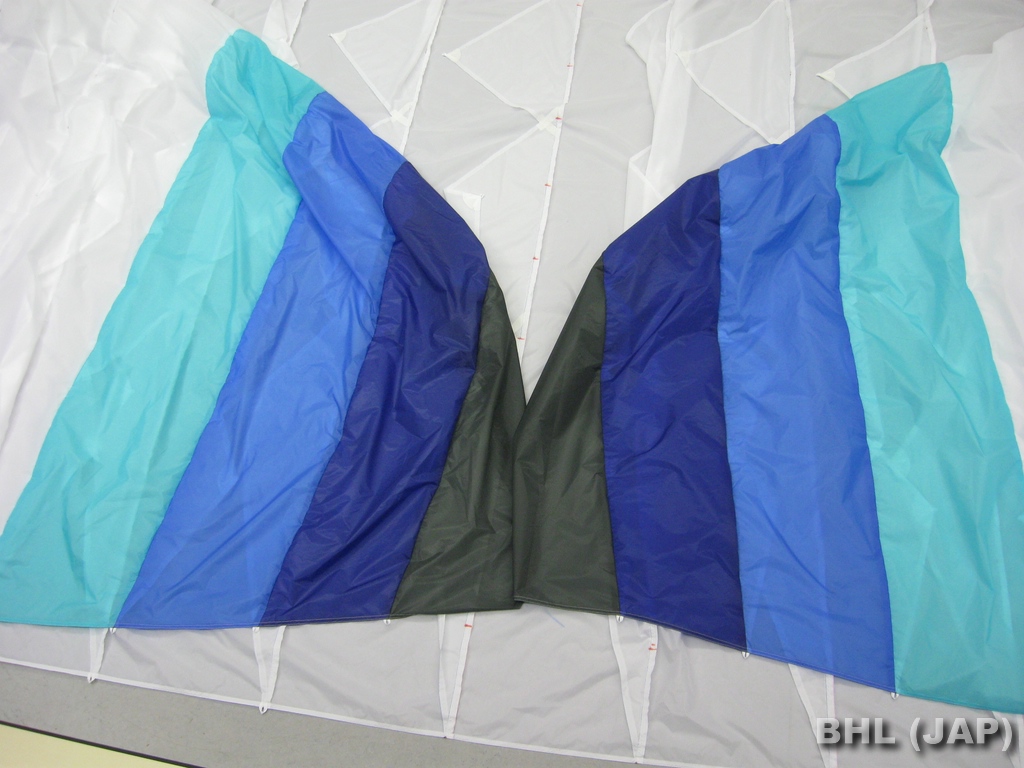
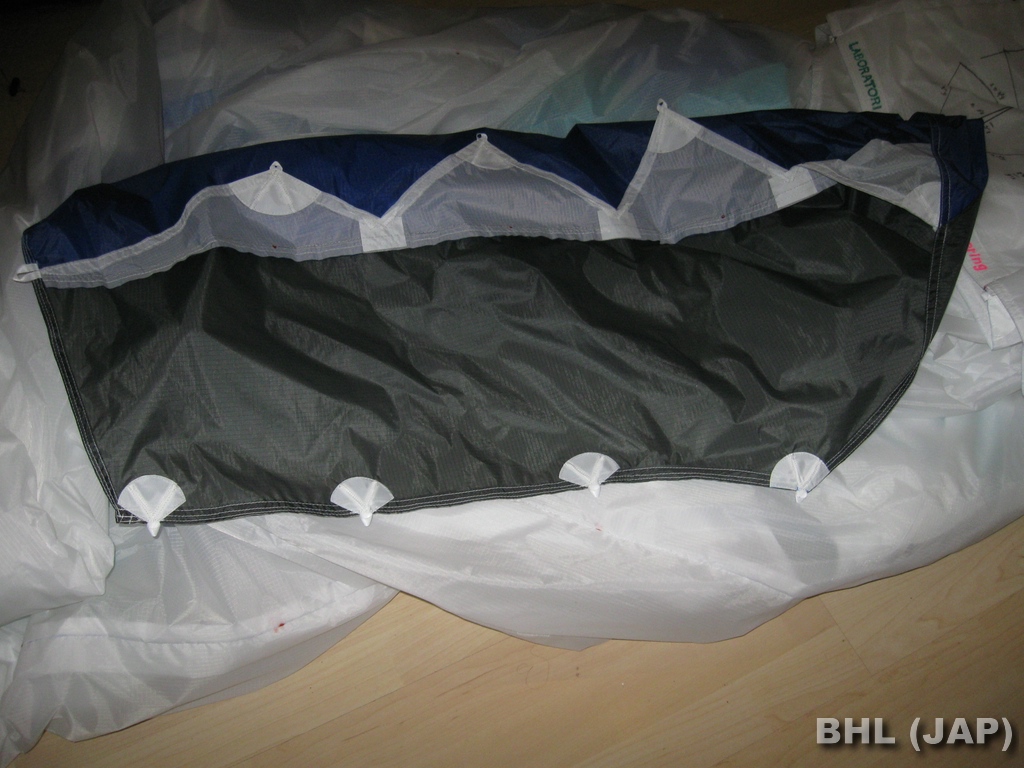
 18: Leading edges wing tips |
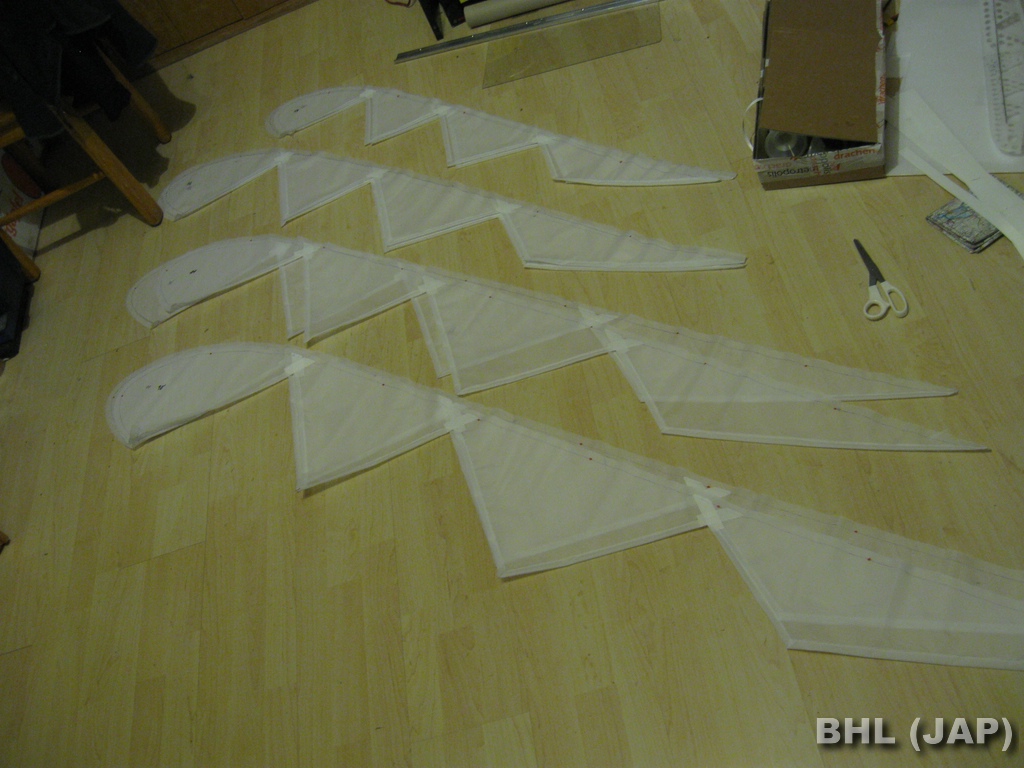
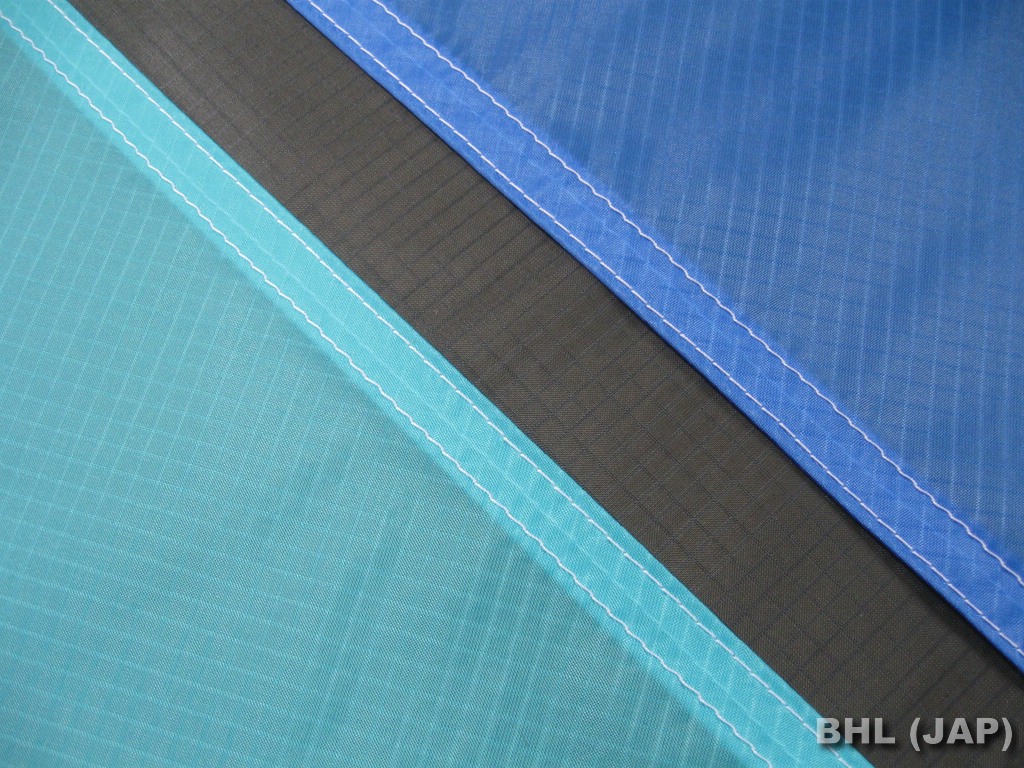
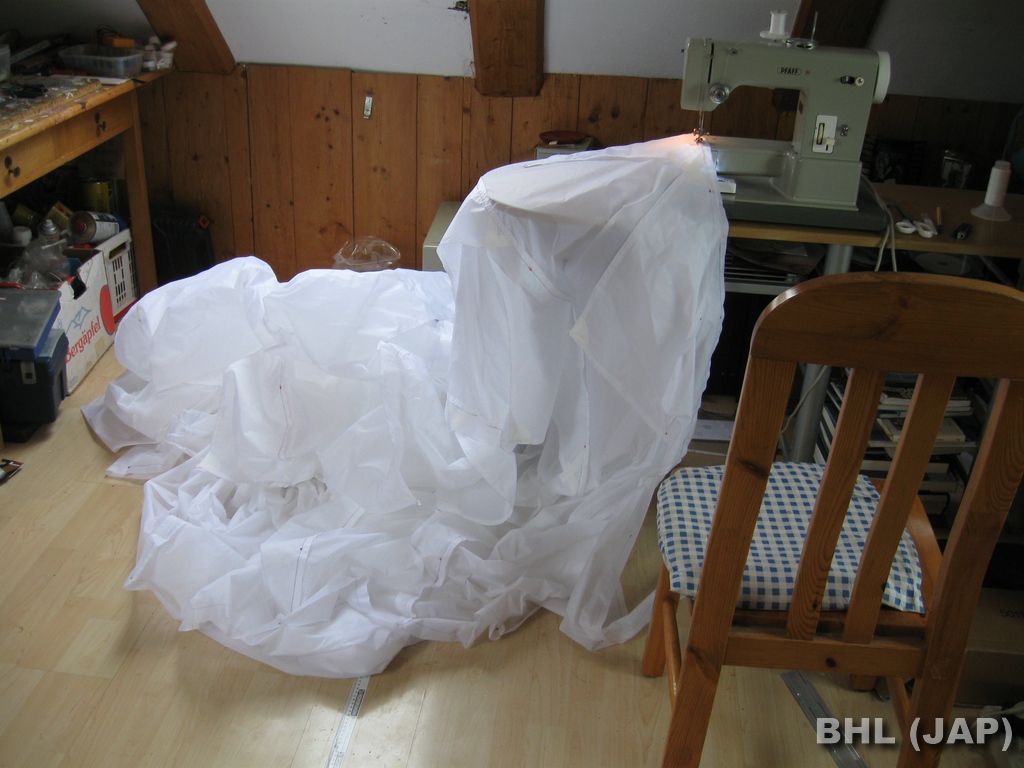
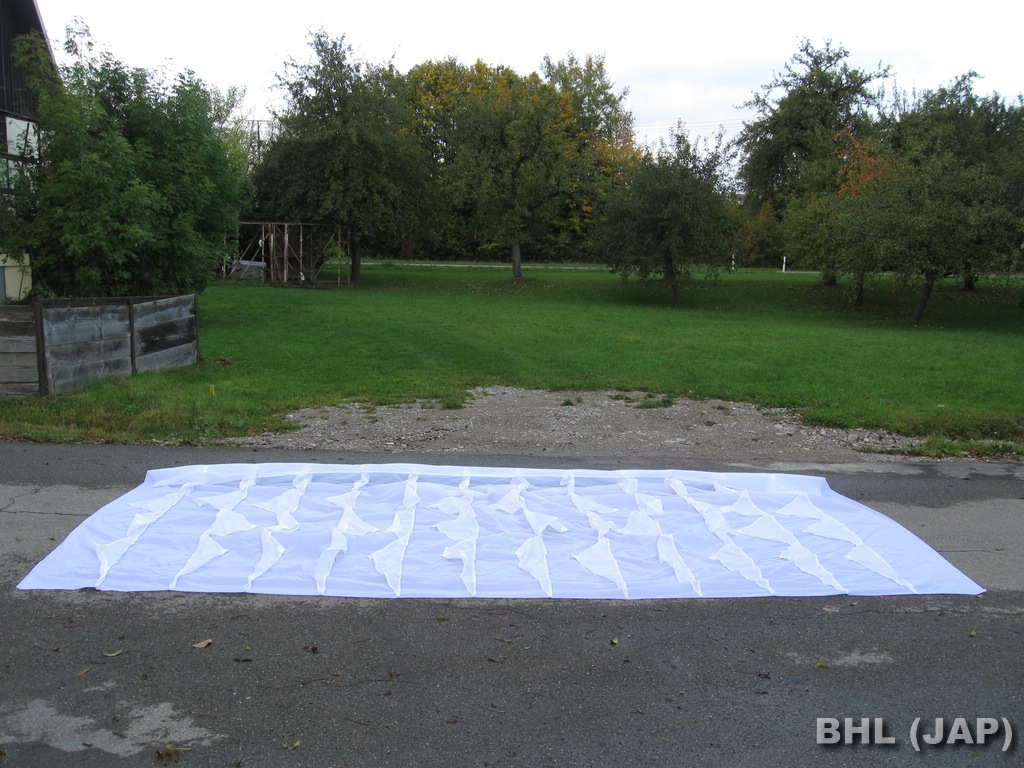
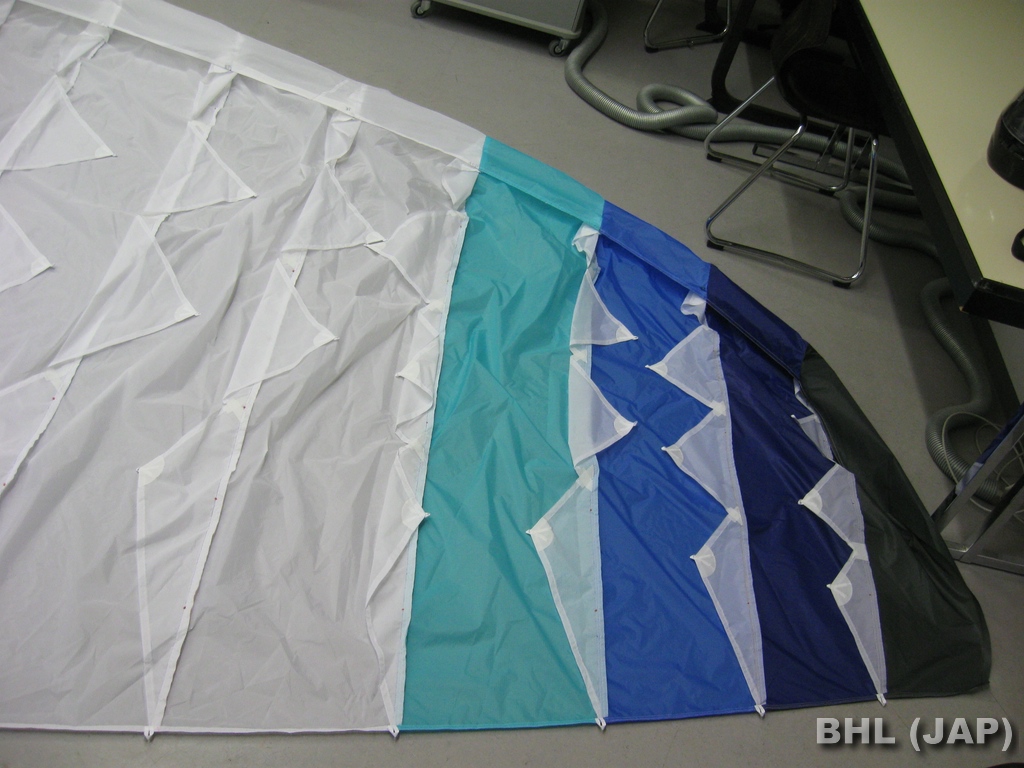
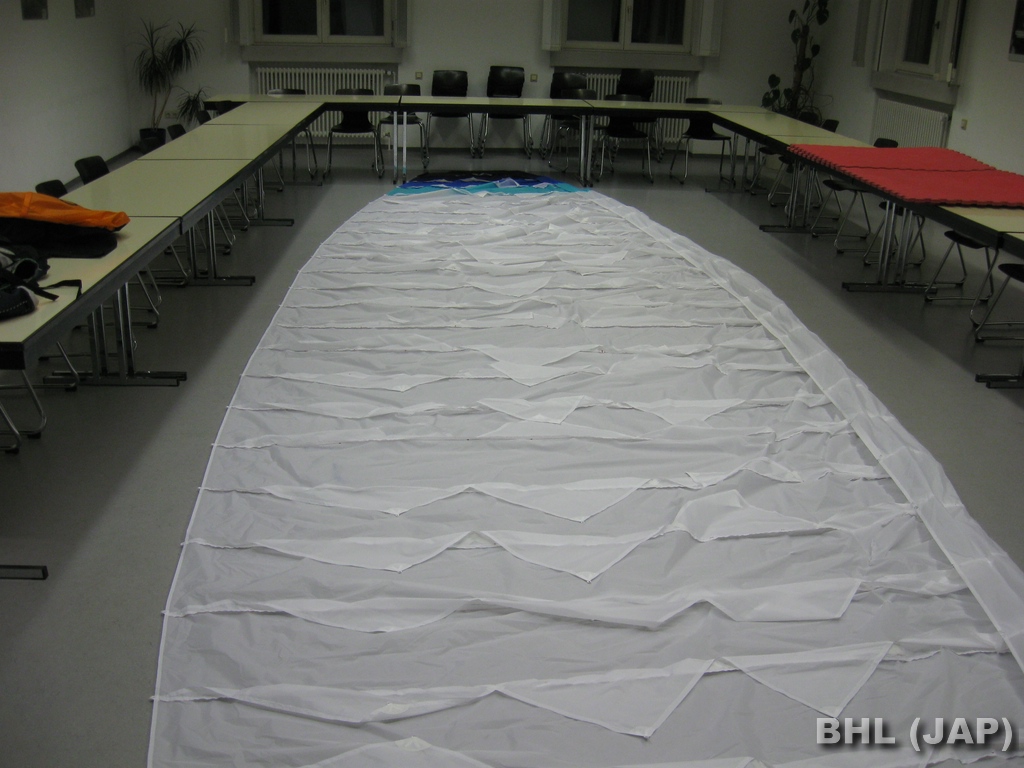
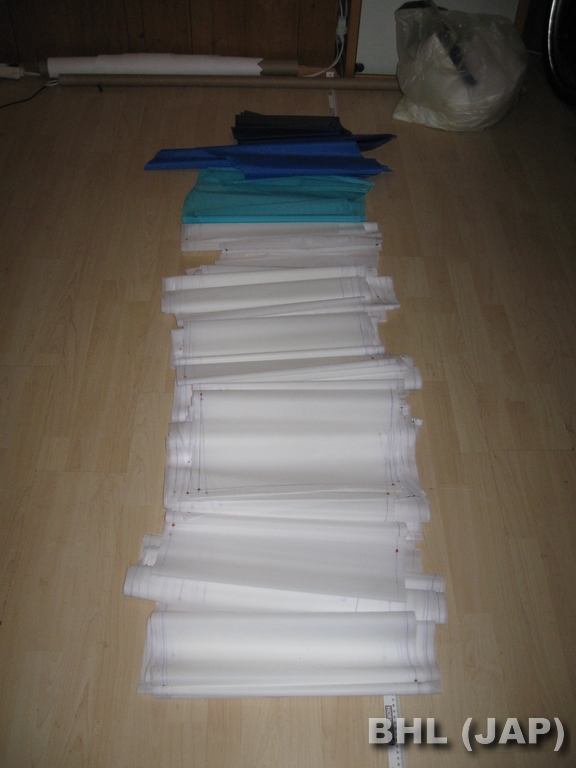 19: All panels |
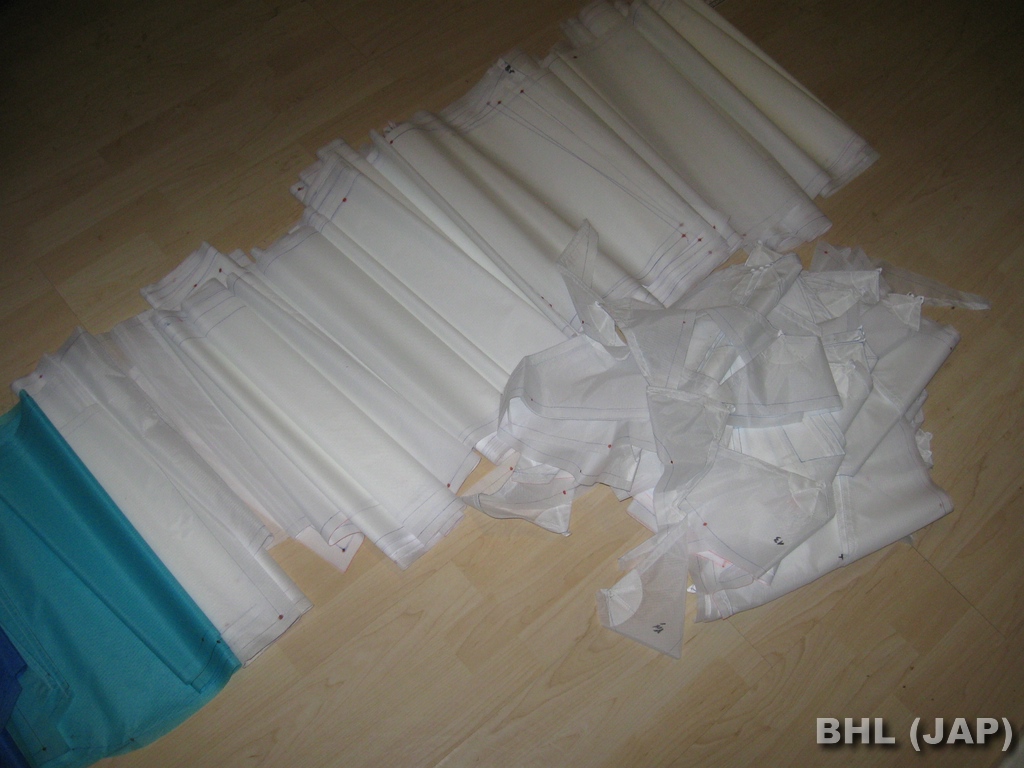 20: All panels and some ribs |
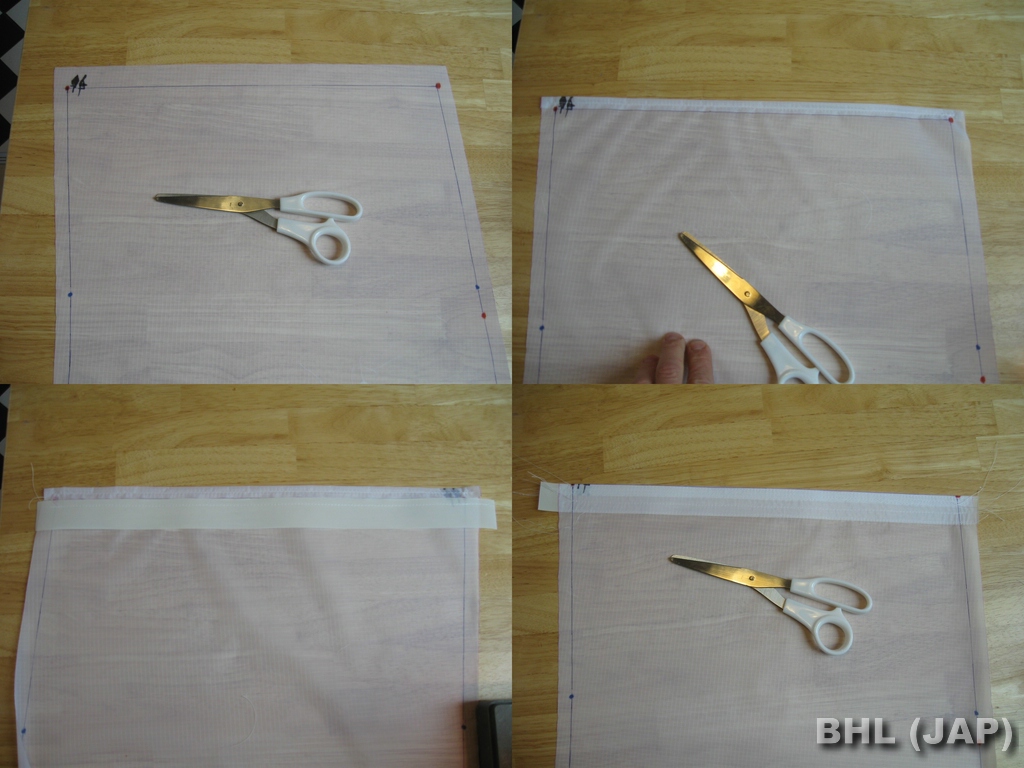
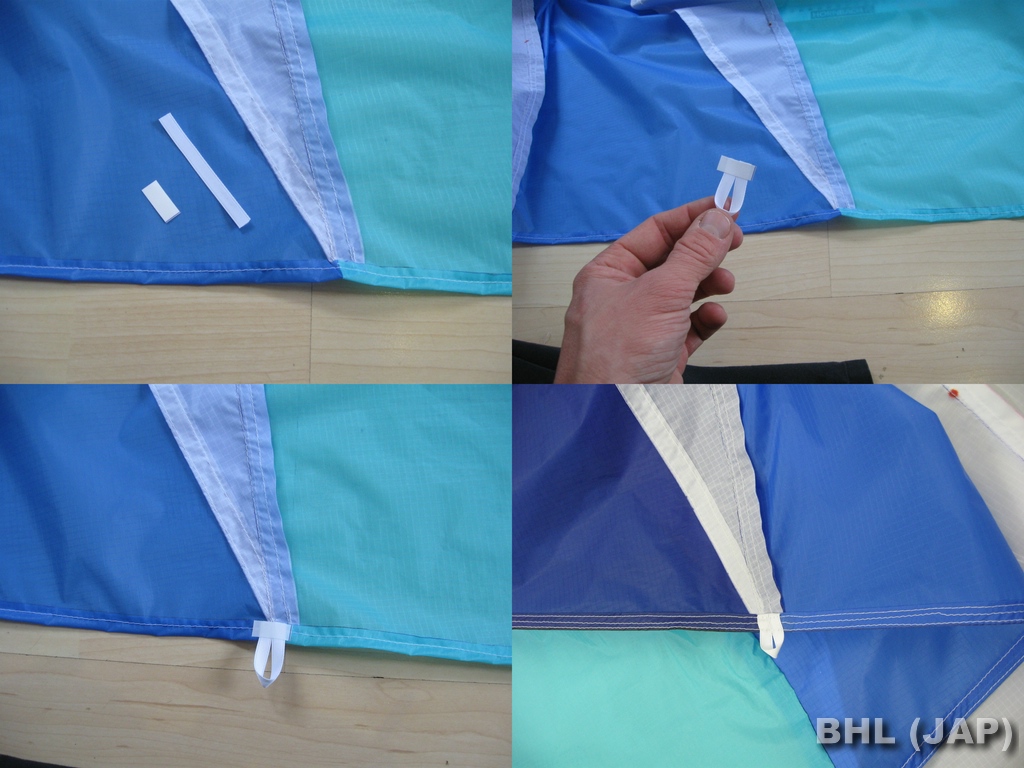
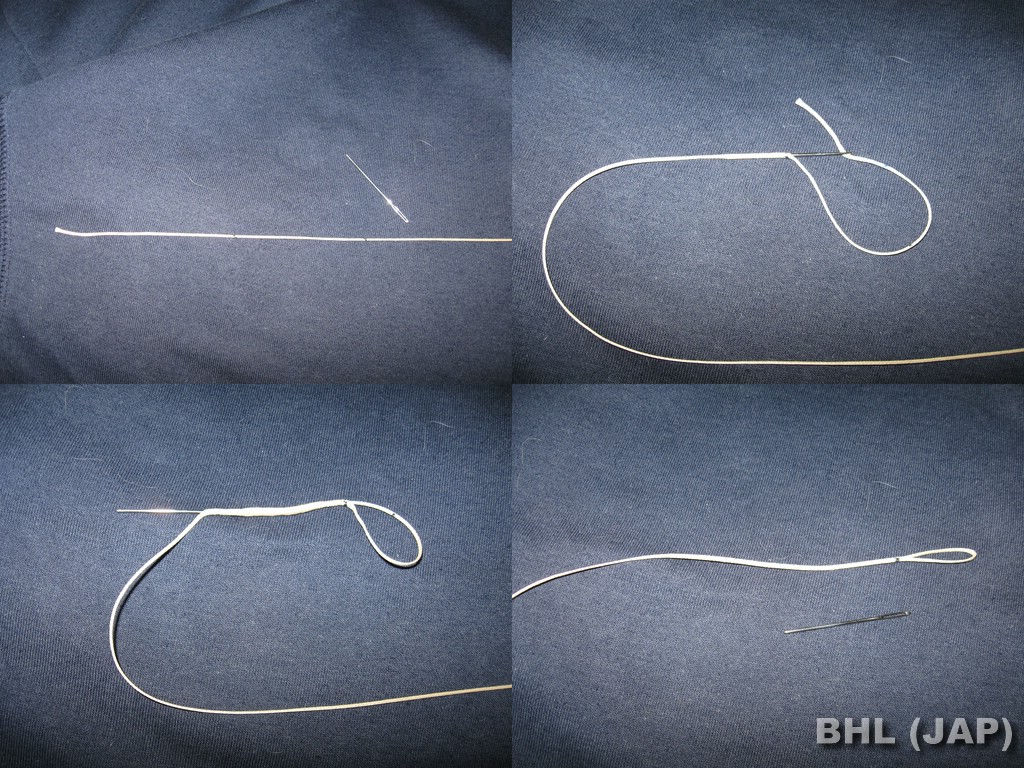
 21: Extra light beneath the fabric to show the sewing-lines and check-marks. |
 22: Moved from the kitchen to the living-room... |
 23: Because it grows... |
 24: First time outside |
 25: Gets bigger and bigger... |
 26: Testing the rods |
 27: Now even my living-room gets to small... |
 28: Seriously! |
 29: How to make break loops |
 30: Wing tip overview |
 31: Will need an elephant as a testpilot(i think i built a biplace...) |
 32: Symetrie check 1 |
 33: Symetrie check 2 |
 34: Still pretty small |
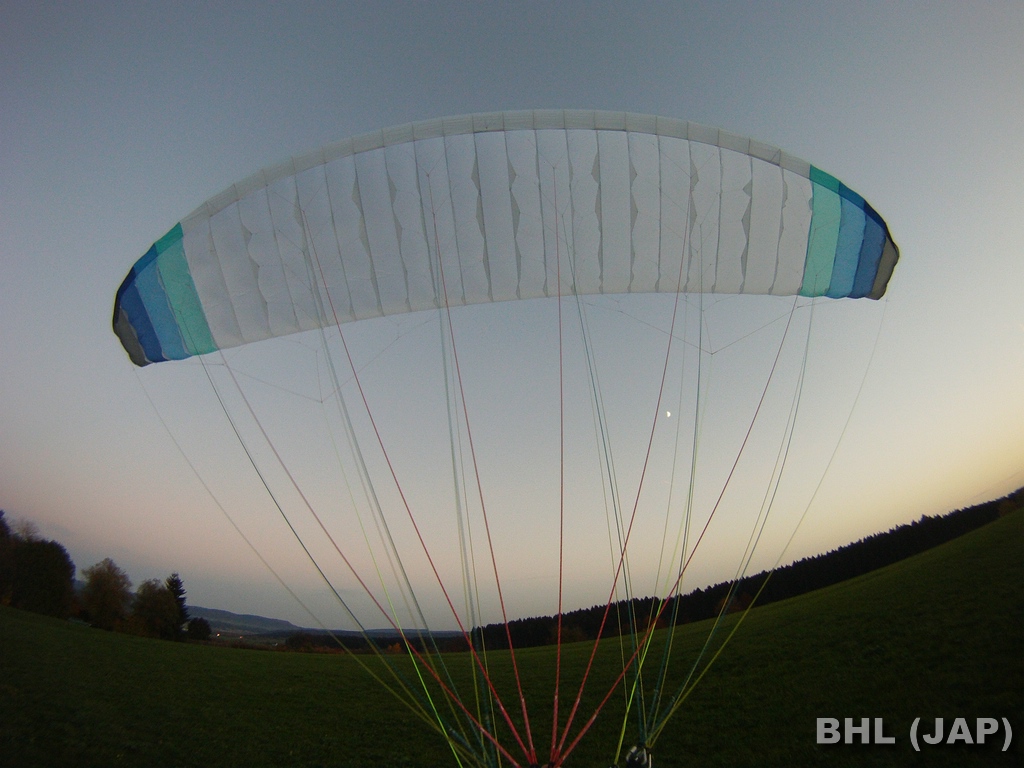
 35: Guess where i got the inspiration for the colors...?! |
 36: Wingtip-Loops |
 37: How to straighten curved plastic rods in an Oven. 80°C for 1h fixed in a steel tube. Then cool them in the tube for one more hour - result: straight! |
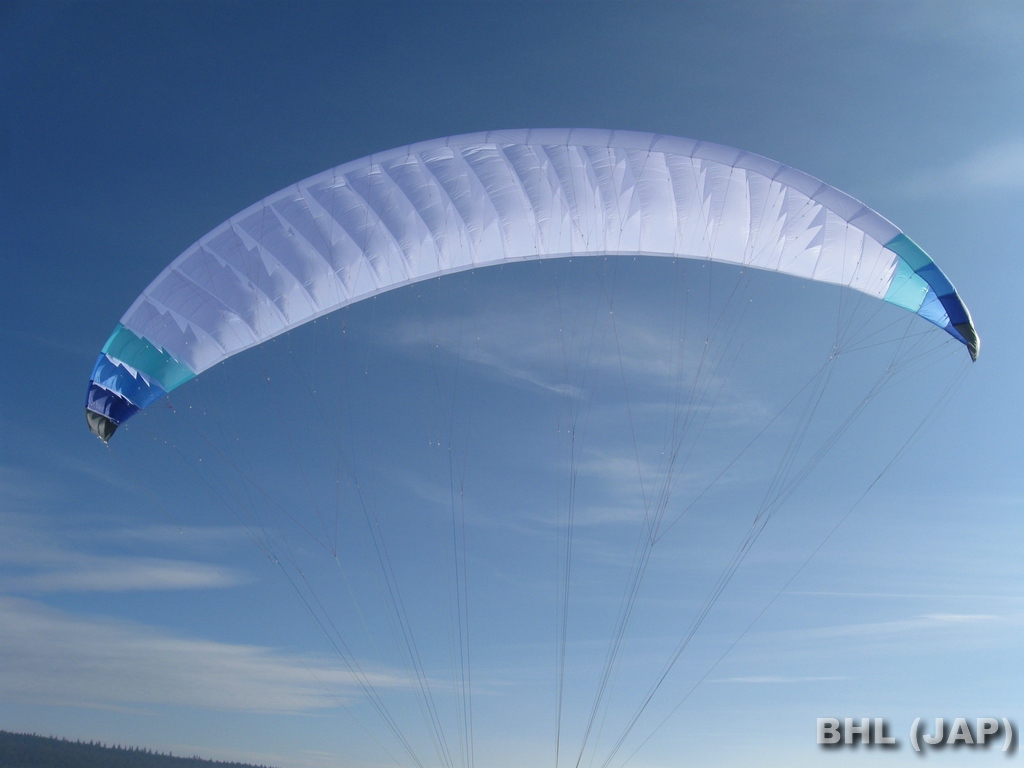
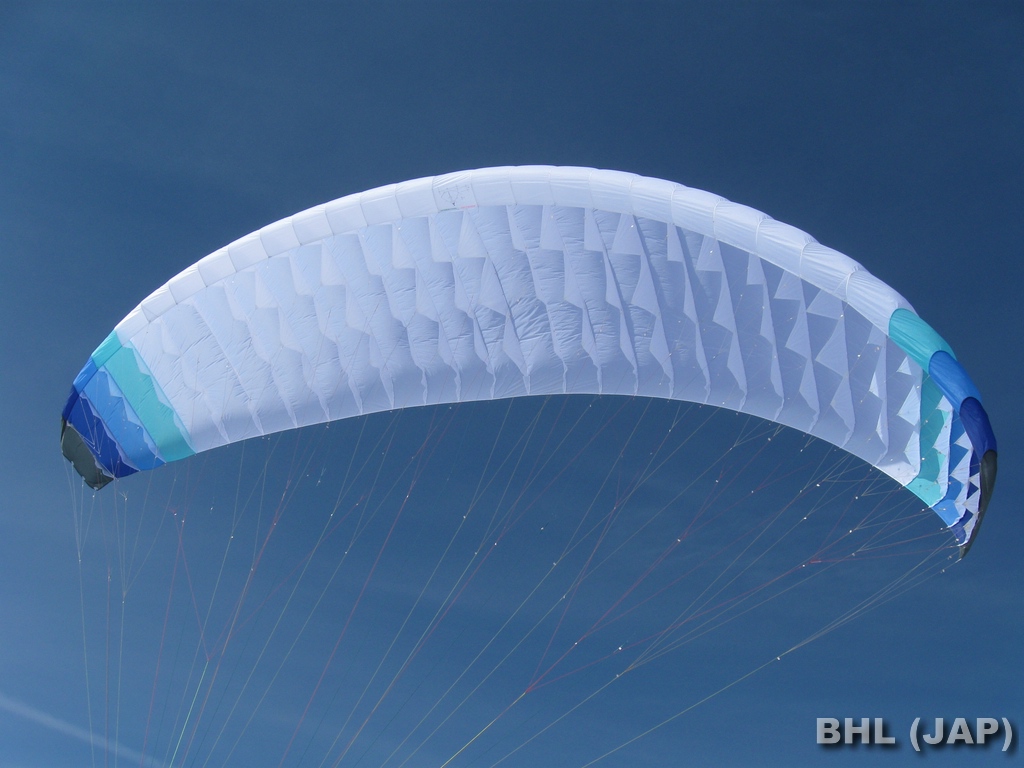
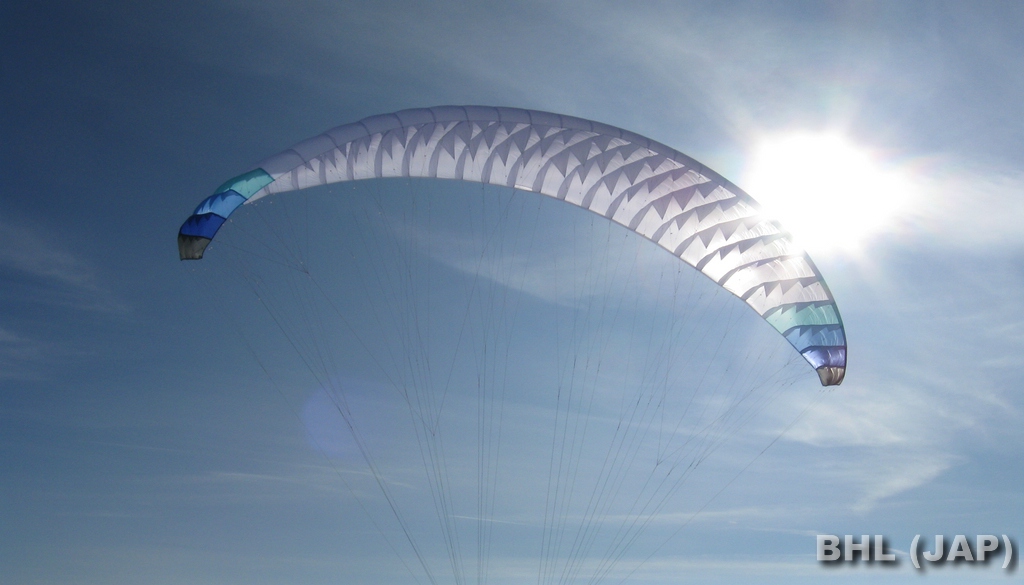
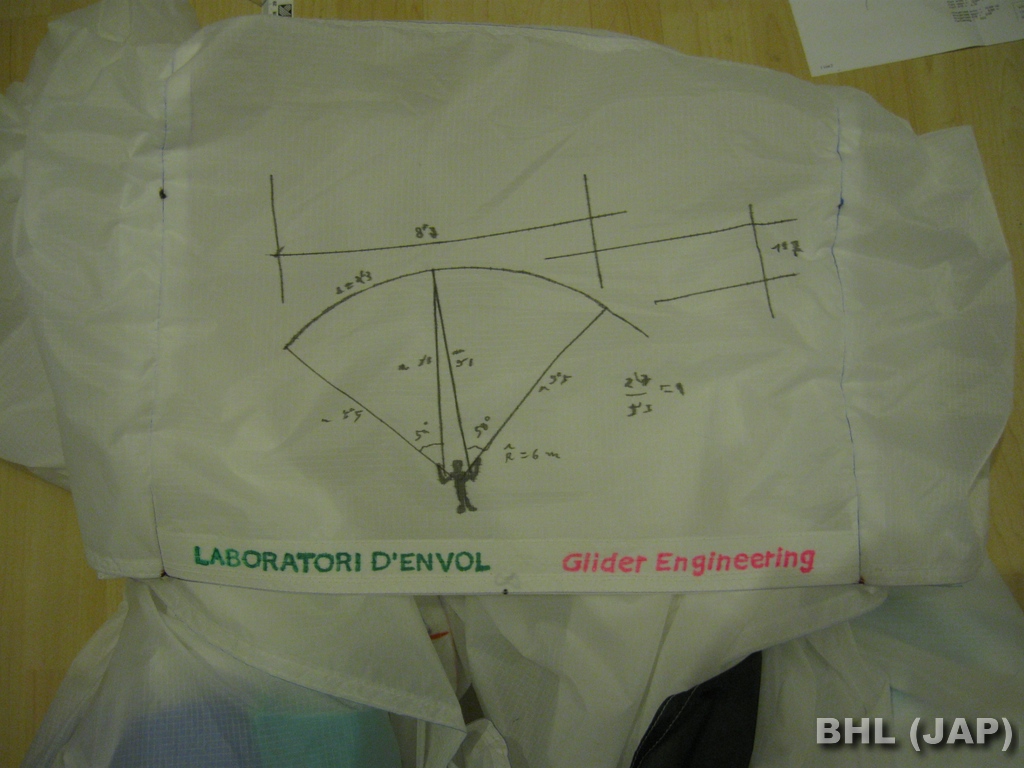 38: Painted the Lab-Logo on the center panel |
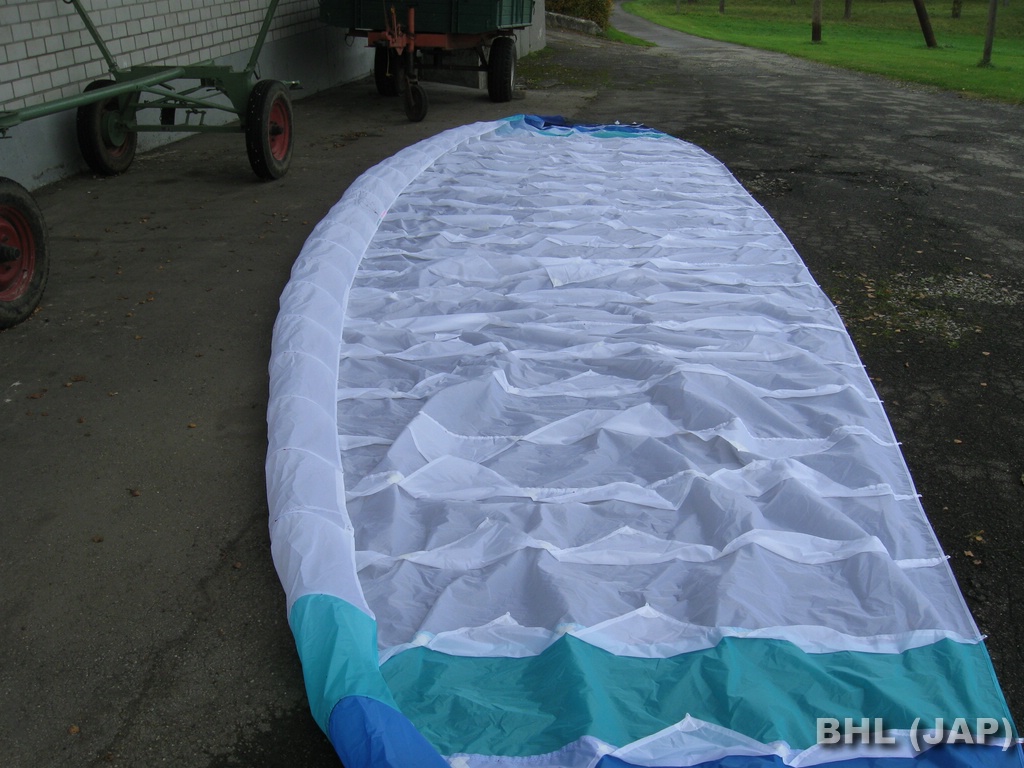 39: Sewed the nylon rods into the leading edge |
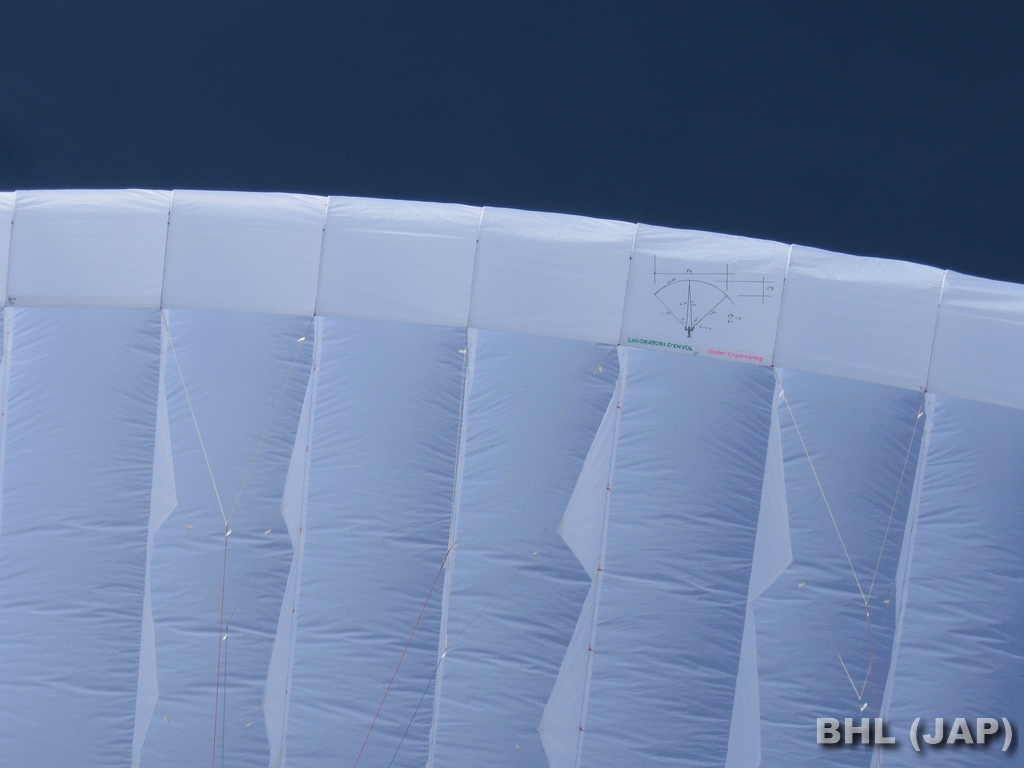
 40: Splicing |
 41: All lines finished |
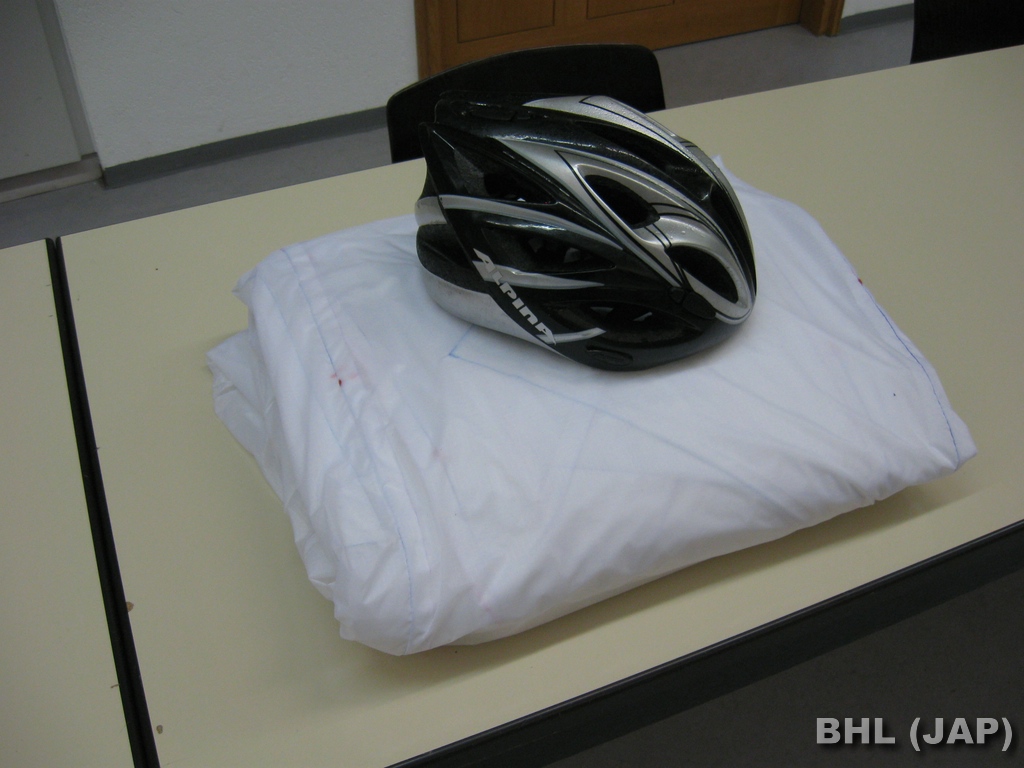
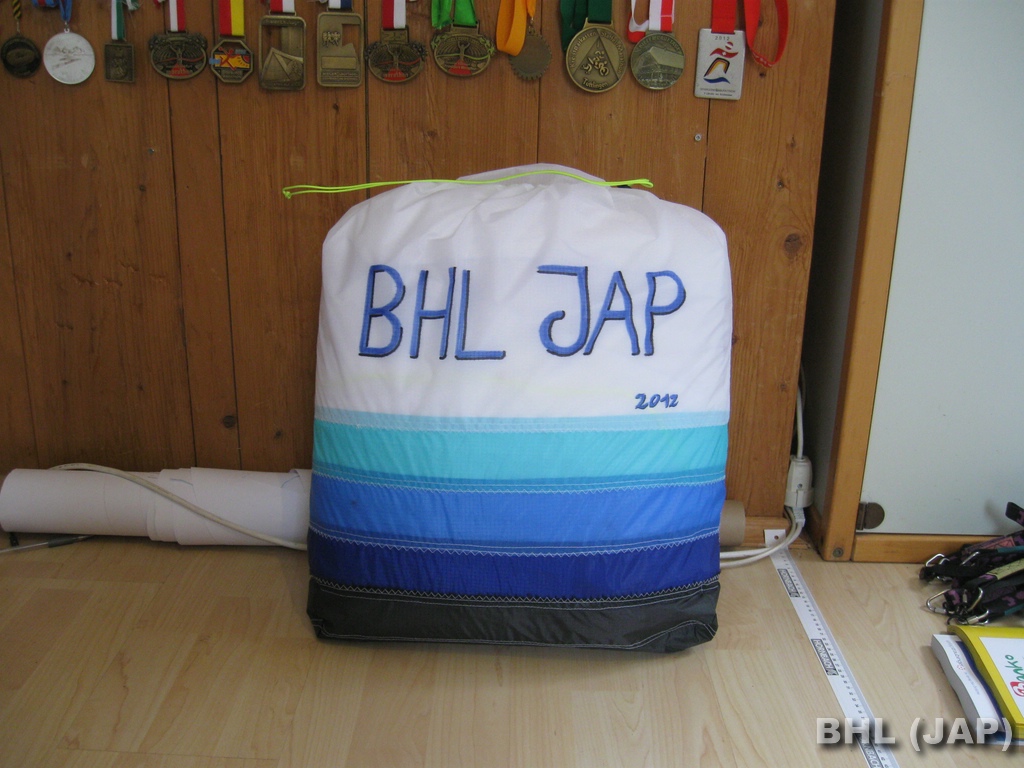 42. BHL JAP bag |
43. October 21th 2012, first inflation: "It was just around sunset, there was 0 Wind, maybe 1-2 km/h not more..." |
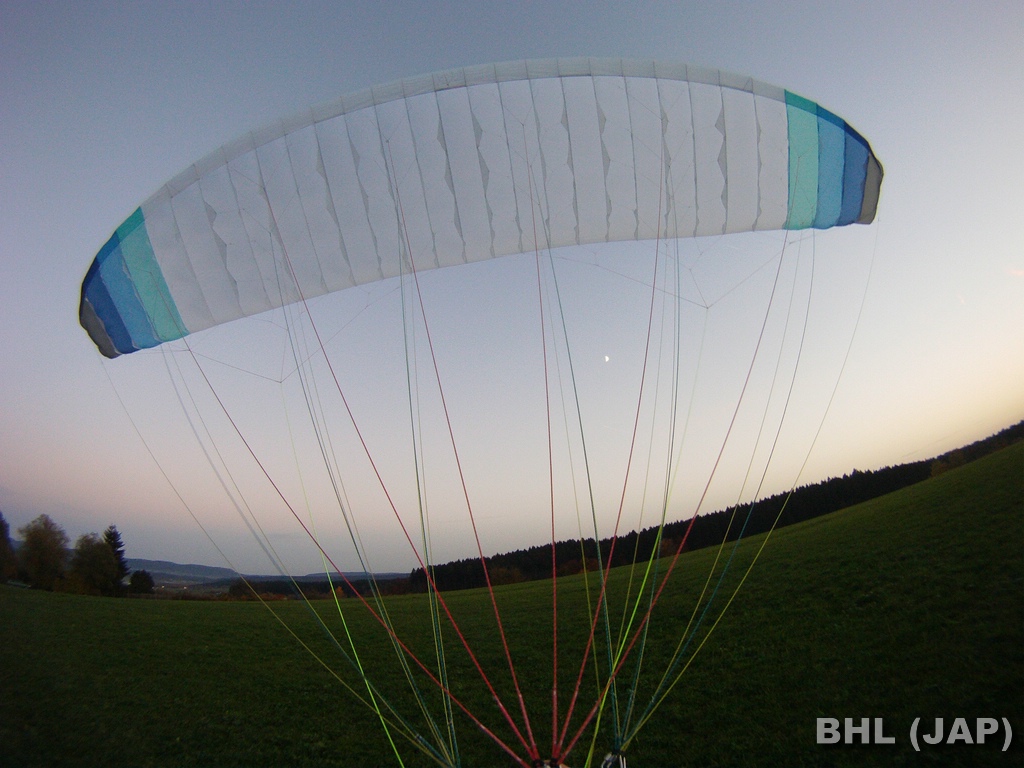 44. "The wing inflates perfectly, and rises over my head, where i stoped it with a small break input.." |
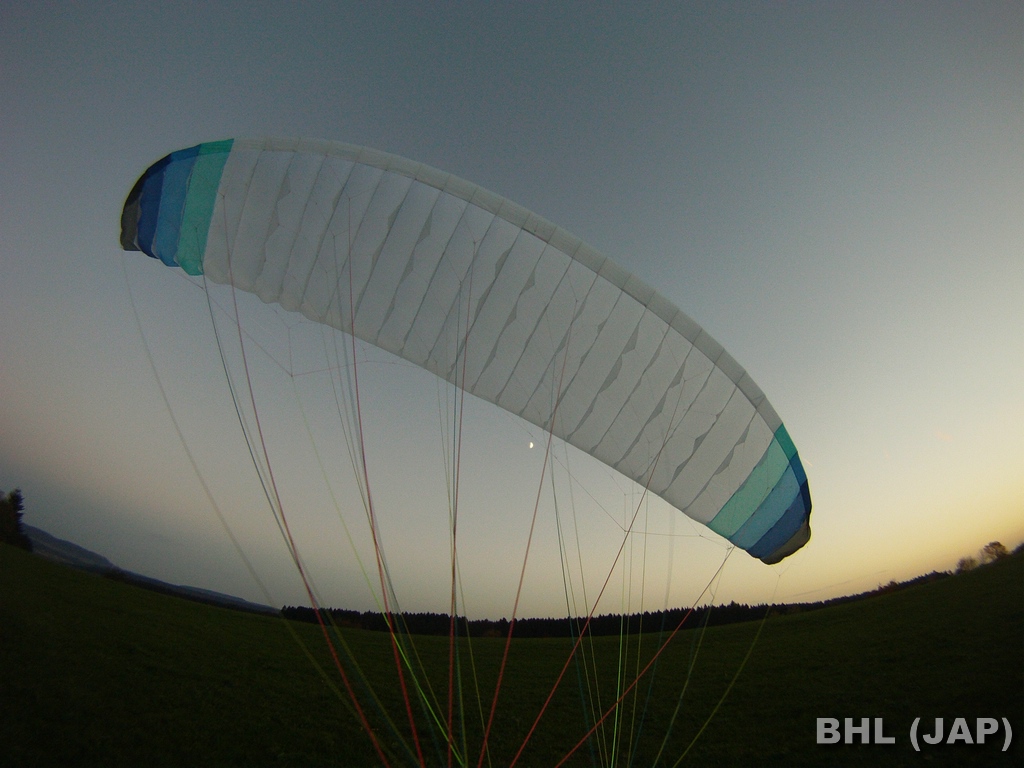 45. "Even in almost no wind the wing stayed over my head, then i turned around and walked a few steps and i could feel the lift of the wing,.." |
 46. Beautifull... |
 47. No bottom surface... |
 48. Laboratori logo in central panel ! :-) |
 49. Ready! |